Are you going to visit a high-end restaurant? Or have a meeting with the Royals? Whatever the reason, or for no reason at all, everyone must know how to eat Use Fork and Knife. Now, no more cringing with fear after receiving a formal dinner party invitation, just use all the tools like a pro and be confident at that elegant party!
How To Use a Fork And Knife?

Proper table etiquette is sometimes essential to maintain at the restaurant, at dinner parties, and on formal occasions. You will not want to look like a primitive hunter with a fork and knife, hacking away at the food. So you have to know how to employ these utensils traditionally.
Well, table etiquette usually varies from one place to another. It is traditionally classified into two Western schools of eating –
- The European (Continental) style
- The American (Cut-and-switch) style or zig-zag style.
Interestingly, France embraced the American version of eating many hundred years ago. Nevertheless, today what matters the most is to hold the fork properly and eat efficiently.
So let’s take a look at both the popular versions of eating and then you can decide which you prefer.
Also Read:- How To Write A Diary Entry Format?
Method 1: The European (Continental) Style
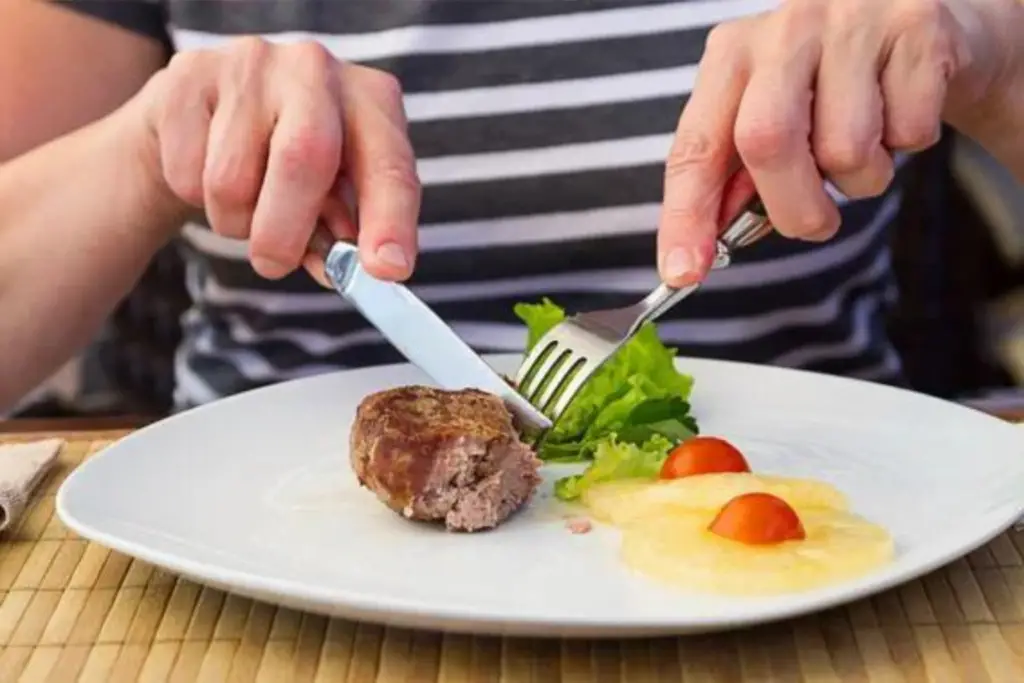
Step 1 – Hold the knife on the right side and the fork on the left side of the plate
Most Europeans rest their fork on the plate’s left side of the plate for eating and the knife on the right-hand side for cutting. It’s the major difference between American and European forking styles. However, people consider the European style more efficient. There’s no need to remove the fork from your hand unless you finish eating.
However, keep note –
- If there is more than one fork, the inner one is used for the main dish and the outer one for the salad.
- The salad fork will be smaller than the fork meant for the main dish.
Step 2 – Use your right hand to pick up and hold the knife
- Keep your index finger nearly straight and rest close to the top, the blade’s blunt side.
- And for a firm grasp, wrap the other four fingers around the handle.
- Your thumb will juxtapose your index finger (resting on the top) on the side.
- And the end of the knife’s handle should touch your palm’s base.
Note: These utensil positions are for right-handers. Left-handers should consider reversing the positions of the knife and fork on either side of the plate.
Also Read:- How Many Ounces Are There in a Gallon of Water?
Step 3 – Pick up the fork with your left hand, facing down the tines
Facing down the tines (prongs) is one of the traditional etiquettes of Europeans. However, many Europeans of today’s generation do not pay attention to how their prongs are directed.
- Grasp the handle between your middle, pinky, ring fingers, and thumb.
- Keep your index finger straight, and place it on the backside close to the fork’s head.
- You can have more leverage while eating your food if you keep the index finger lower on the fork handle. However, make sure you don’t place the finger very close that it touches the food.
- And finally, grasp the handle by wrapping it with the other four fingers around.
This technique is also referred to as the “hidden handle” because the hand covers the handle.
Step 4 – Bend the wrists to point down towards the plate
When you do this, the tip of the fork and knife also somewhat point towards the plate.
- Relax your elbows
- Keep the elbows off the table all the time.
Well, there is nothing to panic about if you don’t want to leave your cutlery informally while taking a break.
Step 5 – Hold the food with the fork
Apply pressure with your index finger to hold down the food with the fork.
In case of cutting, you have to keep the knife near the fork’s base and cut the food with a sawing motion.
- You will have to offer an easy, swift cut for foods such as pasta. On the contrary, chewy meat will require some effort at least. However, cut not more than one or two bites.
- When you hold the fork, the prongs should curve towards you. The knife should be closer to the fork than you.
- You just ensure that the knife is clearly visible to you when cutting. Check whether you can see your knife over the fork.
Step 6 – Bring the cut bits of food with the fork to your mouth
The tines (prongs) will scoop downward while you bring the fork with small bits of food to your mouth.
- Don’t put the fork in your right hand or turn it.
- While you bring the fork to your mouth, the fork’s back will be up.
- After putting the food into the mouth, keep the knife and fork parallel with the prongs facing down on the plate.
Also Read:- When and How Did We Humans Start Counting Years?
Method 2: The American Style
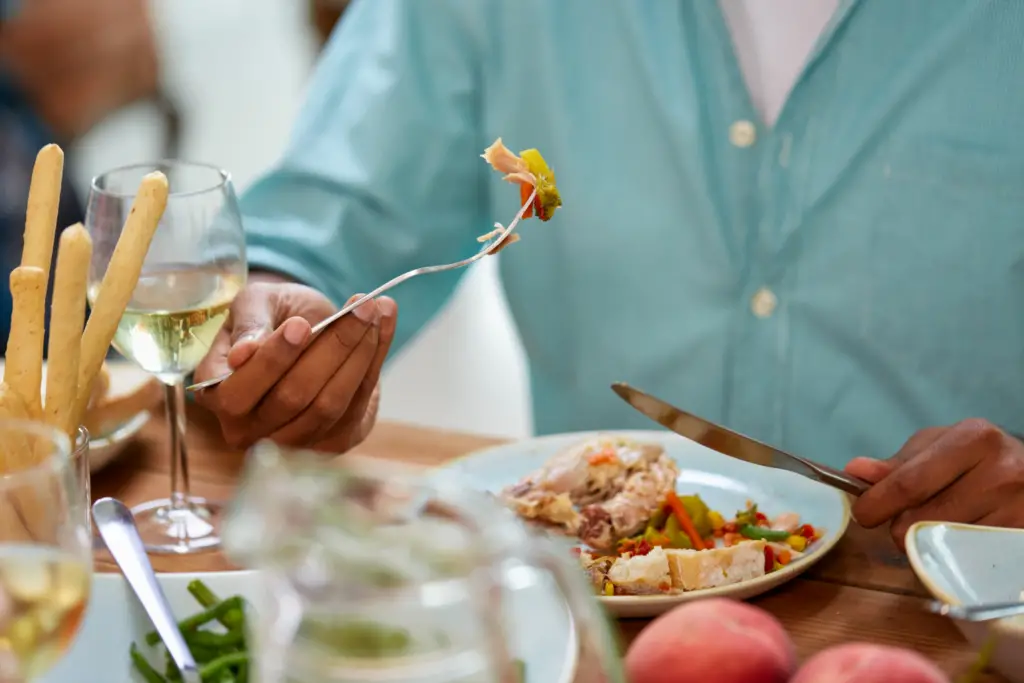
Step 1 – Use your left hand to pick up and hold the fork
It’s just the opposite of the Continental version of eating. You have to embrace the fork in the American style, offering almost a pen-like hold.
- Rest the handle against your hand in the middle of your forefinger and thumb.
- Your thumb and middle finger will hold the base while your index finger rests on the top.
- And the prongs will face downward, as usual, curving away from you.
Step 2 – Hold the knife with your right hand only when cutting
- Like the Continental style, place your hands in the same positions.
- Rest the index finger on the base and fold other fingers around it.
Step 3 – Attempt to cut the food
Using the fork, hold down the food. The tines will be facing down.
- Now, cut through the food with the knife gently in a sawing manner.
- Make sure your fork is nearer to you compared to your knife.
- Cut only one or two bites.
Step 4 – Time to change hands
This is the major difference between the Continental and American styles.
- After you cut a bite, the knife has to be put down on the plate’s edge.
- The blade should be at the 12-noon side and the handle at the 3 o’clock.
- Now switch the fork to your right hand from the left.
- Then turn the fork to make the tines curve upward.
Now take a bite!
Interestingly, Europeans even adopted this style but later moved on, preferring another approach.
Also Read:- How to Write A Check For 1200 Dollars? (A Step-by-Step Guide)
Step 5 – Put the food bite with the fork in your right hand
You may not have to cut the food on the dish. In that case, hold the fork with your right hand. Follow this method every time. However, when taking a bite, prongs can scoop down. But it usually turns most of the time upwards.
Keep note:
- Your silverware should be placed on the table.
- The knife should rest along the plate’s edge when only the fork is in your hand.
- Keep the prongs close to the plate’s center and the handle on the edge when putting down the fork.
Understanding Dining Etiquettes
Now let’s get into the details of dining etiquettes that will help you to present yourself as a refined gentleman.
The Table Set-up
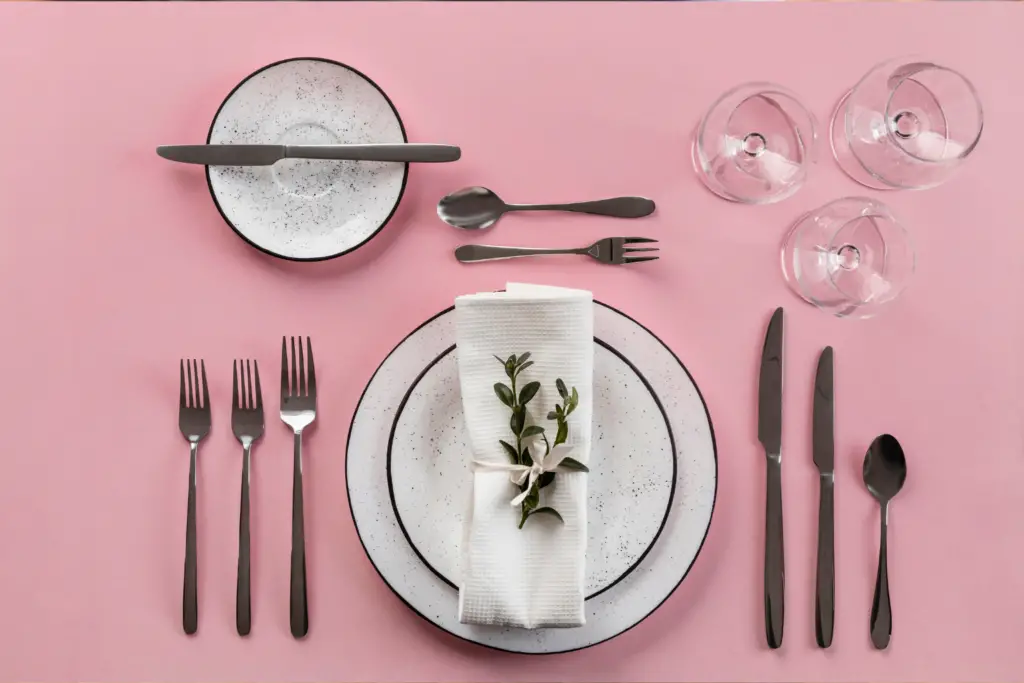
You will come across a fork, knife, and spoon in nearly 96% of dinners and formal occasions. Infancy meal parties, there might be a few more utensils. So here is a rough sketch for you to understand –
- There can be a four-piece setting. It includes a salad fork, a knife, a place knife, and a place “main dish” fork. It will also provide you with a teaspoon to use for coffee.
Also Read:- 7 Tips to Write A Formal Letter on Lined Paper
However, the salad fork will be smaller than the main dish fork and placed on the outside.
- The five-piece setting will have all these utensils along with a soup spoon. This spoon is bigger in size compared to the coffee teaspoon.
- There is an appetizer knife and a fork (on the outside), a main course knife and fork, a salad or dessert fork, and a coffee teaspoon in a six-piece setting. The dessert fork and coffee teaspoon are smaller in size.
- The seven-piece setting will have all of these and an added soup spoon.
Other facts to remember –
- Each utensil is usually arranged around a dish per their use order. If you are confused, begin from the outside and then follow inside.
- Forks are generally placed on the right side, except for an oyster fork. This small spoon is placed on your right.
How to Keep Your Silverware in a Resting Position?
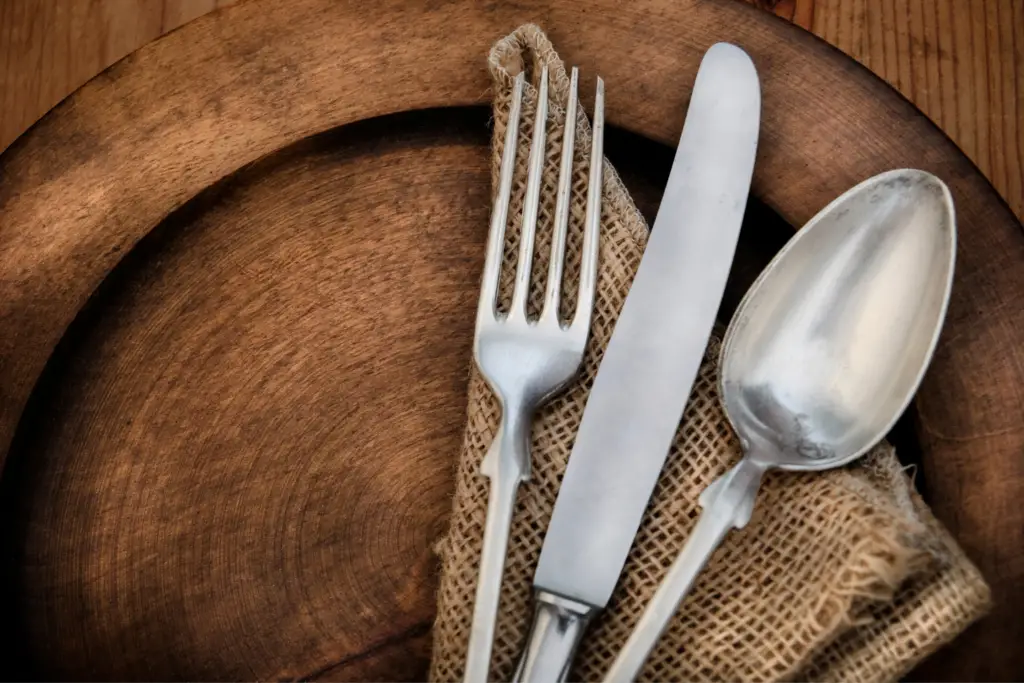
You can choose any of the two ways to denote that you are not done yet –
- The American style:
Keep the knife close to your plate’s top – the handle will be facing the 3 o’clock side and the blade at 12 o’clock. On the contrary, place the fork with tines facing upwards, slightly at an angle.
- The European style:
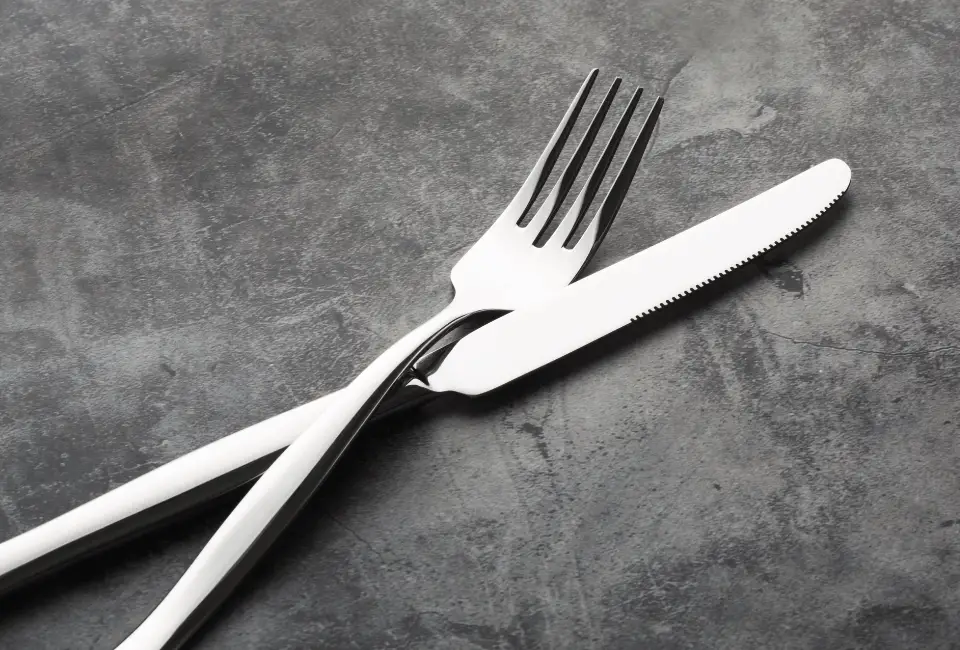
Place your fork and knife crossing one another on your dish. The fork should be placed over the knife with prongs scooping down. It will look like an upside-down “V.”
Also Read:- How to Disconnect Your iPhone From Your Mac in 9 Easy Ways?
How to Keep The Fork and Knife After You Finish Eating?

You have to denote to your waiter that you are done. Again, there are different versions of the two schools –
- The European style:
Keep the fork and knife parallel to each other – the blade and prongs (facing downward) in the center and handles facing at 5 o’clock.
- The American style:
The pattern is similar to the European style, except for one thing. You have only to place the prongs of the fork pointing upward.
