3. Remove The Application Folders and Icons
There will be some of the elements left in your Mac even after deleting the application and virtual machines.
So what are the other files and folders you have to delete for full uninstallation of Parallels Desktop? Let’s find out!
- Step 1: Press command + space = Spotlight Search
- Step 2: Look for “Terminal” and click on that option
- Step 3: Type the following command to open the folder “User” –
cd/user/(your username)
Now you will see the folder “Applications (Parallels).” You have to delete this directory to eliminate the virtual machine applications completely.
Go to the terminal and type this command –
rm -R Applications| \(Parallels|)
Now:
Type this command and go to the Applications folder –
cd /user/(your username)/Applications
Here another application will appear under “Windows 10 Applications. app”. You have to delete this folder. To do it, type this command –
rm -R Windows\ ten \ Applications.app/
You have successfully removed these files. It’s time to go to the Library folder as we have to draw out another file.
However, to do this, you will need access to the administrator. So how to gain it?
Type – sudo su.
Now type the password of your administrator account.
Type this link in the command to go to the “Library” –
cd/Library
In the Library, you will find the Parallels folder that needs to be removed. So type this command –
rm -R Parallels/
Now write down “Exit” on the command line and leave your administrator account.
Finally, you could successfully delete Parallels Desktop, its associated folder, and files from your Mac.
Also Read:- How To Turn On Battery Percentage On iPhone 12
Other Ways to Uninstall Parallels Desktop Manually
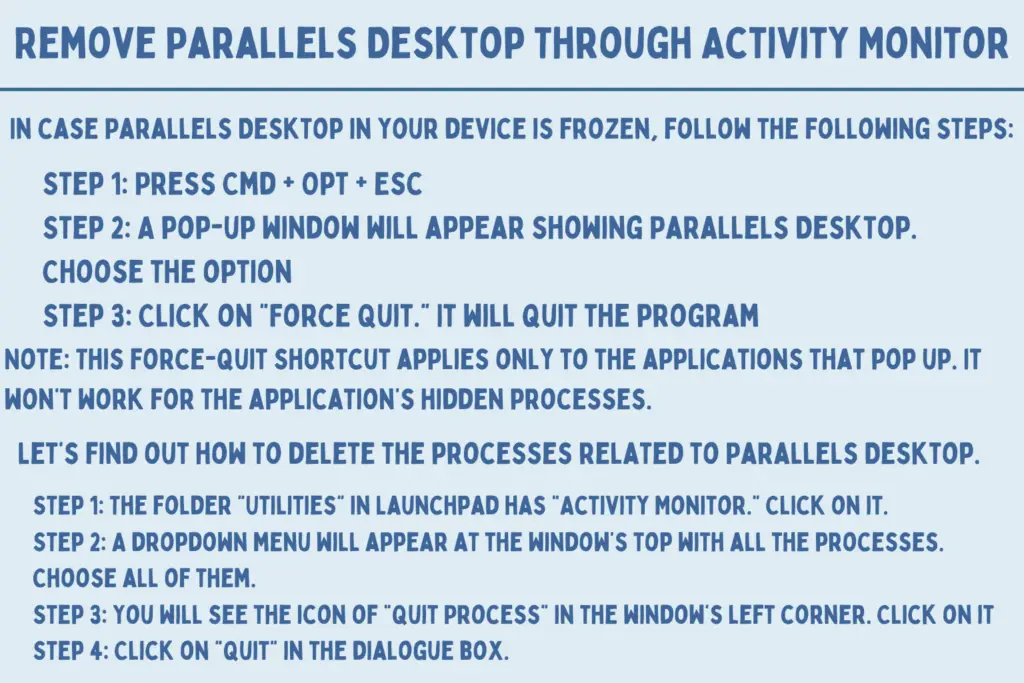
1. Remove Parallels Desktop Through Activity Monitor

Remember that it’s better to end all the processes and quit this Parallels Desktop first before you uninstall this application.
In case Parallels Desktop in your device is frozen, follow the following steps:
- Step 1: Press Cmd + Opt + Esc
- Step 2: A pop-up window will appear showing Parallels Desktop. Choose the option
- Step 3: Click on “Force Quit.” It will quit the program.
Note: This force-quit shortcut applies only to the applications that pop up. It won’t work for the application’s hidden processes.
Let’s find out how to delete the processes related to Parallels Desktop.
- Step 1: The folder “Utilities” in Launchpad has “Activity Monitor.” Click on it.
- Step 2: A dropdown menu will appear at the window’s top with all the processes. Choose all of them.
- Step 3: You will see the icon of “Quit Process” in the window’s left corner. Click on it
- Step 4: Click on “Quit” in the dialogue box.
If this does not work, go for Force Quit.
2. Uninstall Parallels Desktop via Trash

Before proceeding with the process, stay logged in with an administrator account on your Mac. It will help if you want to delete something.
- Step 1: Go to Finder and click on the Applications folder. Alternatively, navigate the Menu bar and click on the “GO” menu. Then, choose Applications in the list.
- Step 2: Type the name of a Parallel Desktop application in the search field and search for it
- Step 3: Drag and drop it in the Trash. Now start with the uninstalling process.
The alternative way –
- Click on the folder “Parallels Desktop.”
- Press Cmd +Del and move it to the Trash or select the file and transmit it to Trash commands.
If you want to delete the applications that have been installed from the App Store, follow these steps –
- Step 1: Open Launchpad and look for the application
- Step 2: Click and hold down the Option key (or hold the application’s icon with your mouse button)
- Step 3: You will see the icon wiggling and exhibiting the “X” in the upper left corner.
- Step 4: Click on “X” and then on “Delete,” which will appear in the confirmation dialog.
Also Read:- How To Refresh On Mac
