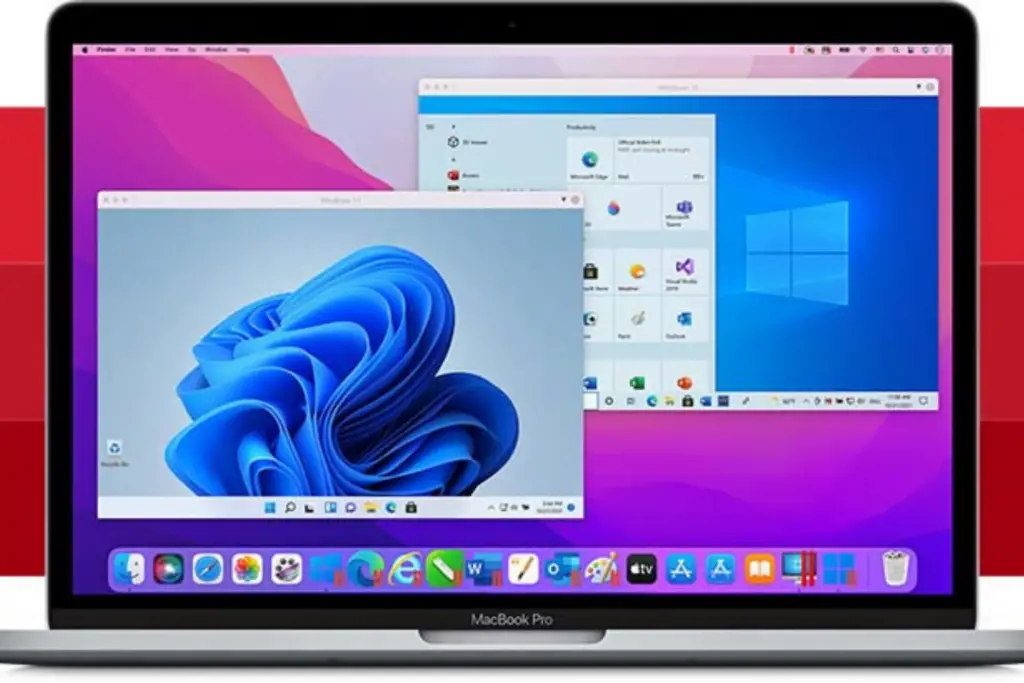
Parallels Desktop is quite famous among Mac users. It’s a third-party virtual application or software that helps run the Mac operating system without rebooting the device. With this application, you can work on your device smoothly. Now, the fact is that –
You can remove most applications installed in the OS X system relatively easily. However, uninstalling Parallels Desktop on your Mac might not be an easy feat. It includes several steps and ways to accomplish the objective finally.
This application will create many files in different locations when installed on your Mac. If you even delete the application, your device will still have Parallel Desktop’s additional files on the hard drive, like application support files and preference files. It basically keeps the program’s setting to ease the process of reinstalling Parallel Desktop again.
However, in case you want to uninstall the program entirely, freeing up your Mac’s space, it would be essential to remove all its files. So how to uninstall parallels on Mac?
Take a look!
Uninstall Parallels Desktop from Mac: An In-Depth Guide
Here’s the guide to the proper techniques and ways for removing Parallels Desktop safely and deleting all its files from your Mac.
1. Remove Parallels Desktop Application

Begin the process by navigating to the Control Center of Parallels. You can see the virtual machines that are running on your Mac. And if you find them, the first step will be to stop them entirely. Follow the steps below to do that –
- Click on one of the running machines.
- Go to the Actions tool that you will find on the top toolbar.
- Click on “Shut Down.”
Likewise, you can shut down all the machines and then move on to the next step of uninstalling the Parallels Desktop.
Again, take the cursor to the Parallels Desktop on the toolbar, and you will see the option “Quit Parallels Desktop.” Click on it. You have successfully quit the application. Now:
- Go to “Applications.”
- Take your cursor on “Parallels Desktop” and right-click on it.
- Choose “Move to Trash.”
Note: At this point, a dialog box may appear exhibiting to enter the password. If it is so, do it.
- Open the Trash folder and right-click on the icon of Parallels Desktop.
- Click on “Delete” immediately.
Also Read:- How to Disconnect Your iPhone From Your Mac in 9 Easy Ways?
2. Drawing out Parallels Desktop Virtual Machines

You have entirely removed the Parallels Desktop application from your device in the above step.
But the fact is that –
Virtual machines of the application will remain in your system, occupying a substantial part of your storage. So you have to remove them manually.
Well, these files are formed with the “.pvm” extension. So let’s find out how to search for the virtual machines with this extension.
You have hit command and space together to get the Spotlight search.
Go to the search bar and write down “.pvm.”
Now, you can see the list of all files with the .pvm extension. You have to open “Finder” now and search for these things.
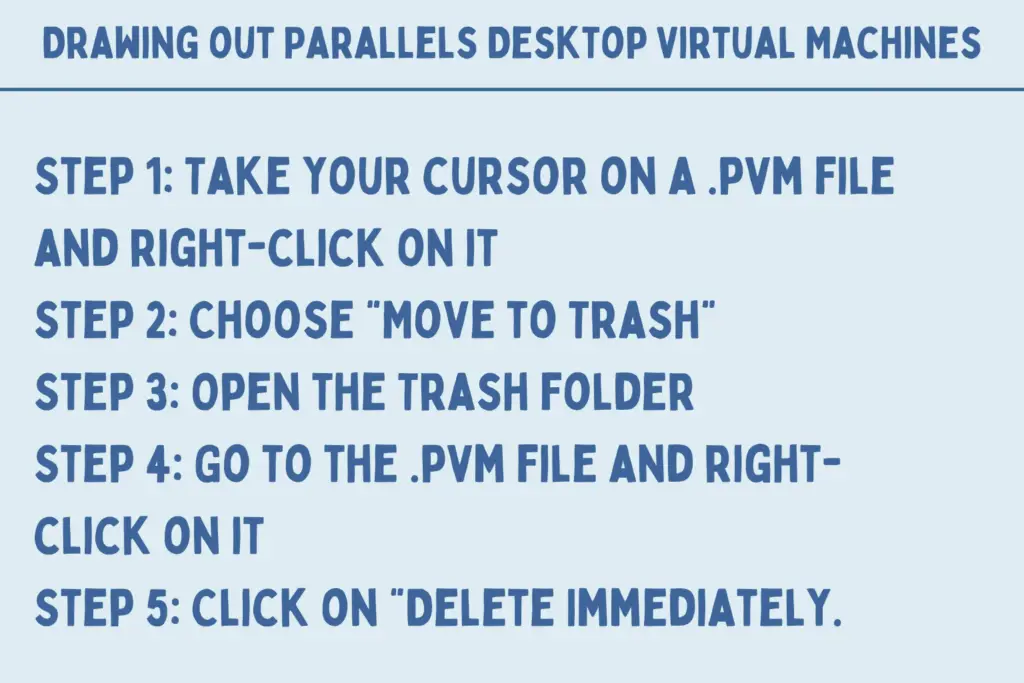
- Step 1: Take your cursor on a .pvm file and right-click on it
- Step 2: Choose “Move to Trash”
- Step 3: Open the Trash folder
- Step 4: Go to the .pvm file and right-click on it
- Step 5: Click on “Delete Immediately.”
It’s done! Follow the similar steps for all the other .pvm files on your Mac. Likewise, you can permanently remove all the virtual machines, saving up substantial storage space in your device.
Hold on!
There are yet a few things left of the Parallels Desktop application to get rid of your system.
