3. Get Rid of all Elements Associated with Parallels Desktop in Finder

You are already aware by now that several files, caches, logs, and other contents related to Parallel Desktop can still be on your Mac’s hard disk even after deleting the application. Nevertheless, all these components can be manually detected and cleaned out, ensuring a complete termination of Parallels Desktop.
You can use Spotlight to look for the relevant names. However, you can typically find the Parallels Desktop’s preference files in your user’s library folder’s Preferences folder. They can also be found in the system-wide Library at the system volume. On the other hand, you will find the support files in the “/Library/Application Support/” or “/Library/Application Support/.”
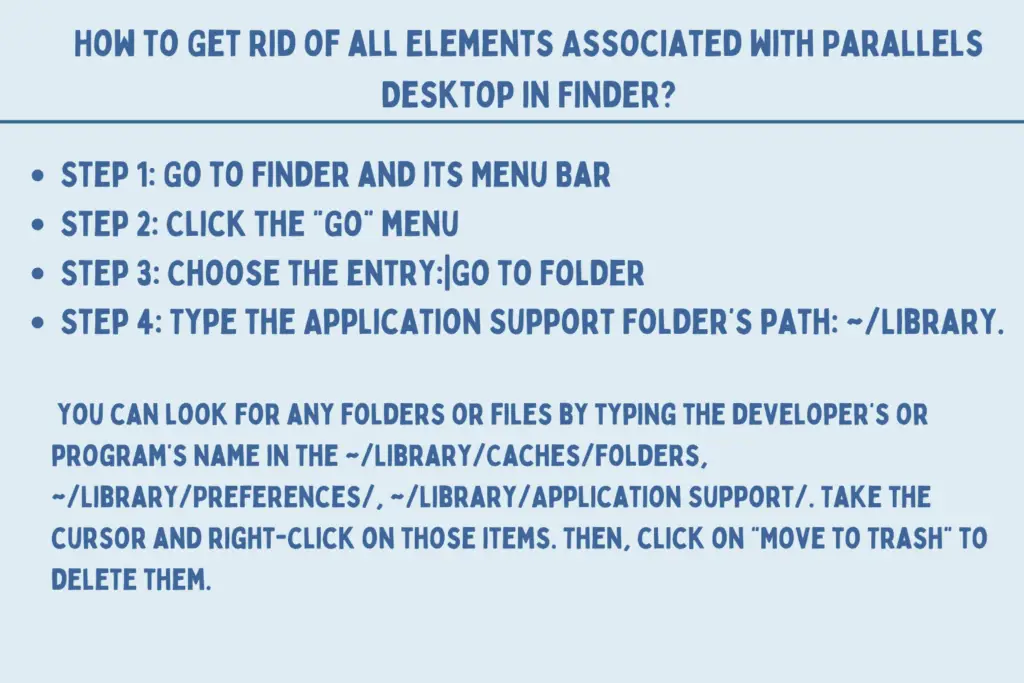
- Step 1: Go to Finder and its Menu Bar
- Step 2: Click the “Go” menu
- Step 3: Choose the entry:|Go to Folder
- Step 4: Type the Application Support folder’s path: ~/Library.
Well, you can look for any folders or files by typing the developer’s or program’s name in the ~/Library/Caches/folders, ~/Library/Preferences/, ~/Library/Application Support/. Take the cursor and right-click on those items. Then, click on “Move to Trash” to delete them.
However, you can look for the locations given below for removing the application’s associated items:
/Library/Preferences/
/Library/Caches/
/Library/Application Support/.
Moreover, your device may have some hidden files or kernel extensions related to Parallels Desktop. Those aren’t possible to find, but a Google search can be done about the elements for Parallels Desktop.
4. Removing Parallels Desktop by clearing the Trash
The last thing left to do to uninstall Parallels Desktop is empty the Trash permanently. For doing it –
Take the cursor on the Trash and right-click on it
Select “Empty Trash.”
Alternatively, you can select the Empty Trash option in the Finder menu. However, simply reboot your device if you still can’t clear the Trash.
How to Uninstall Parallels Desktop with MacRemover?

Admittedly, it’s simpler to uninstall applications in the Mac system than in Windows. However, for OS X novices, the uninstalling Parallels Desktop manually may seem time-consuming and tedious. So let’s try out a faster and easier way to delete it permanently.
MacRemover is a professional third-party application used to completely uninstall and remove corrupted, incompatible or unwanted applications from Mac devices. Keep on reading to find out how it can remove Parallels Desktop from your device.
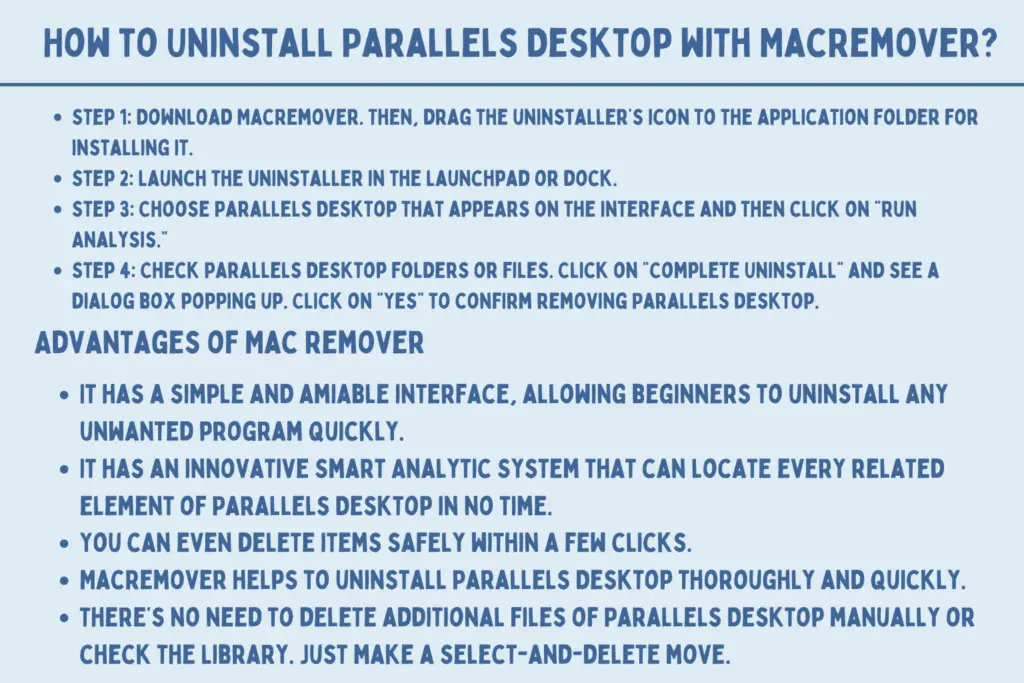
- Step 1: Download MacRemover. Then, drag the uninstaller’s icon to the application folder for installing it.
- Step 2: Launch the uninstaller in the Launchpad or dock.
- Step 3: Choose Parallels Desktop that appears on the interface and then click on “Run Analysis.”
- Step 4: Check Parallels Desktop folders or files. Click on “Complete Uninstall” and see a dialog box popping up. Click on “Yes” to confirm removing Parallels Desktop.
It may take less than one minute to complete the entire process of uninstalling the Parallels Desktop. It will even successfully remove all the files and folders related to Parallels Desktop.
Advantages of Mac Remover
- It has a simple and amiable interface, allowing beginners to uninstall any unwanted program quickly.
- It has an innovative Smart Analytic System that can locate every related element of Parallels Desktop in no time.
- You can even delete items safely within a few clicks.
- MacRemover helps to uninstall Parallels Desktop thoroughly and quickly.
- There’s no need to delete additional files of Parallels Desktop manually or check the Library. Just make a select-and-delete move.
So with Mac Remover, you can draw out all unwanted programs with no hassle.
How to Uninstall Parallels Desktop with PowerMyMac on Mac?

PowerMyMac is another tool that you can use to clean, optimize and remove unnecessary files quickly and easily. With this application, you can uninstall different files and remove unwanted leftover folders or files. In simple words, PowerMyMac is your Mac’s doctor.
However, if you want to uninstall the Parallels desktop on your OS X system, check out the following steps to accomplish your task.
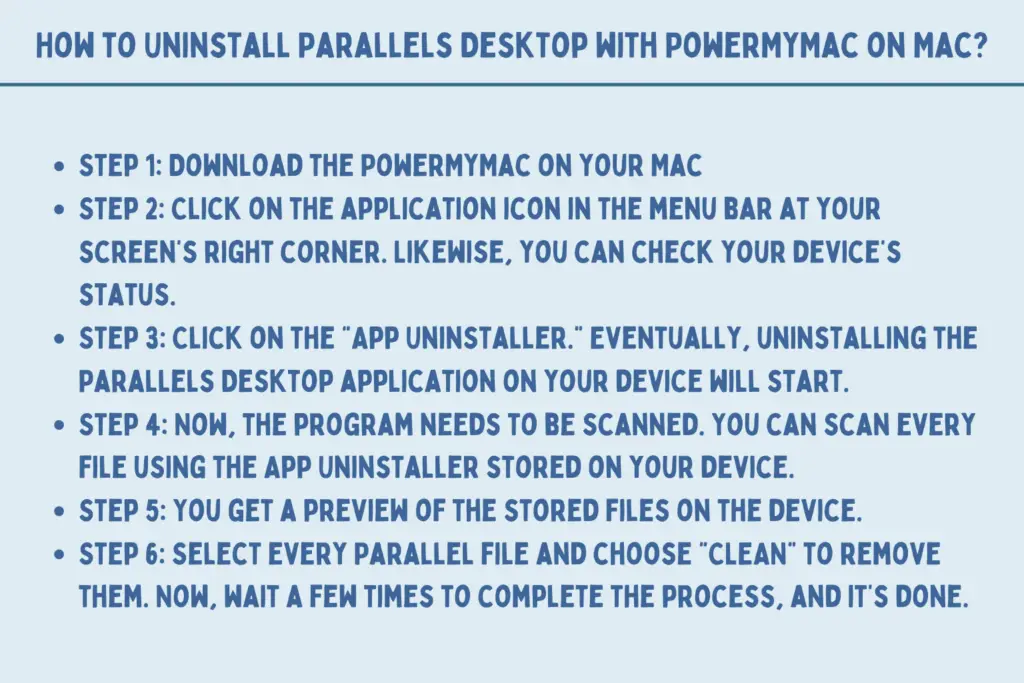
- Step 1: Download the PowerMyMac on your Mac
- Step 2: Click on the application icon in the menu bar at your screen’s right corner. Likewise, you can check your device’s status.
- Step 3: Click on the “App Uninstaller.” Eventually, uninstalling the Parallels Desktop application on your device will start.
- Step 4: Now, the program needs to be scanned. You can scan every file using the App Uninstaller stored on your device.
- Step 5: You get a preview of the stored files on the device.
- Step 6: Select every Parallel file and choose “CLEAN” to remove them. Now, wait a few times to complete the process, and it’s done.
That’s it! You will see the difference between the two ways of uninstalling the Parallels Desktop from your device. If you find uninstalling the Parallels Desktop manually difficult, go for a third-party application like Power My Mac and Mac Remover.
