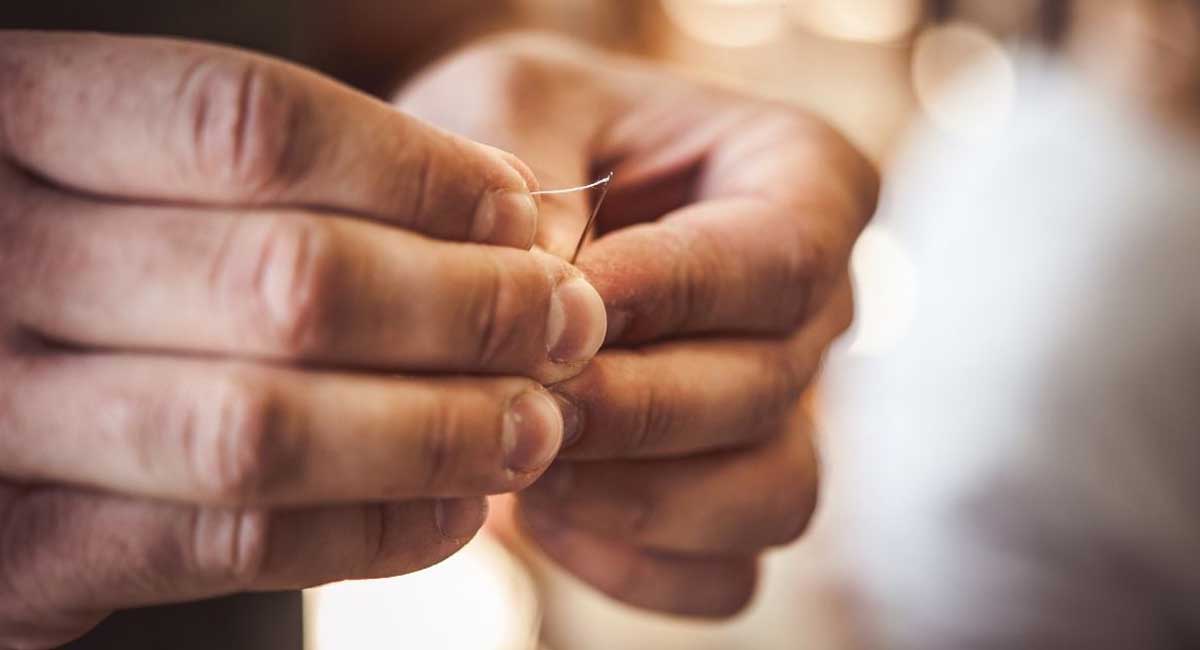
Are you tired of licking the strands of embroidery floss? Are you tired of getting your fingers used as a pincushion? If you want to learn how to thread your needles into a quick and painless task, please read on because this article is just for you!
What is the difference between embroidery needles and regular sewing needles? To start off, embroidery needles have larger eyes that are more appropriate for the task at hand than sewing needles. Additionally, the actual needle size is larger on an embroidery needle compared to that of a sewing needle.
As such, embroidery needles are sometimes more difficult to work with as the thread is also thicker. The important thing to remember is that when using multiple strands of thread you need to choose an embroidery needle that has an eyehole that’s suitable for the thickness of the thread.
Threading Without a Needle Threader
Although not ideal, it seems most people lick the single strand of embroidery thread and then try to thread that through the eyehole. This method may seem practical, but you might be in for a surprise when you find out that there’s a much easier way to do it.
You may also have seen (or tried!) to get the thread through the eyehole only to be shocked when you missed the needle completely. Additionally, licking the thread poses a health hazard, especially during this COVID era. It’s better to try a different method than to continue to practice one that’s so unhygienic.
The easiest way to learn how to thread an embroidery needle is to use threading tools specifically designed for this purpose. To do that we first need to gather some supplies.
How to Thread an Embroidery Needle Using a Needle Threader
With your embroidery needle in hand and a fresh cut of thread ready to go, all that’s left is to shoot the eye and get that needle threaded!
What You’ll Need:
- Embroidery needle
- Needle threader
- Embroidery thread
Separate the Strands
There are all different kinds of embroidery floss, but the most popular one is stranded cotton. This type of thread, made up of six strands, allows you to stitch with varying thicknesses of thread.
Using all the strands together makes for really bulky and wide stitches. To prevent puckering of your fabric, make sure you use a looser weave fabric and a large needle. The last thing you want to do after getting ready to embroider is notice that your first few stitches aren’t right because you’re either using the wrong thread or too much of it.
Just a quick note on other types of threads that are out there – only separate threads are designed to be taken apart. Most other types of thread shouldn’t be separated.
To separate cotton thread that’s stranded, cut a piece that is the length of your forearm (or a little longer). Push the clean-cut thread down so that the individual strands start to splay out. This will make it easier to grab them. After you get it started, slowly run your finger down the length of the thread to make it unravel and then you’re ready to go.
More Tips on How to Thread Embroidery Needle
It’s common to see people lick strands of embroidery floss, or any thread for that matter, in order to work the floss through the eye of the needle. That’s not hygienic. Follow these steps to ensure that you get the needle threaded the correct way the first time.
Always use sharp embroidery scissors to cut your thread. Nail clippers will smash the ends of the thread and cause it to be more difficult to get into the eye.
Holding the end of the thread between your thumb and index finger on your dominant hand will help get the needle threaded. You don’t want too much thread sticking out as this will cause the thread to buckle as it enters the eyehole.
A good rule of thumb is that you should barely be able to see the thread as it’s resting in your fingers.
The next step is to push the thread through the eye of the needle.
Bring the eye of the needle to the thread and, while squeezing the floss, push the thread through the eyehole.
Once the thread is through, pull the desired amount of thread, grab your favorite cotton fabric with an embroidery hoop, and start your project!
The process can take practice, but if you’re able to orientate the needle eye in the proper direction, you can get a threaded needle pretty easily. If you continue to have trouble you might want to try coating the ends of the thread with either beeswax or thread conditioner.
What Exactly Is a Needle Threader Anyway?
A needle threader is a handy little tool made with a small metal tab and a loop of thin wire to make threading a needle very simple and easy.
To use a basic needle threader, insert the loop or hook through the eye of the needle. Place the end of the stranded cotton through the loop or hook on the needle threader. Use the needle threader to pull the embroidery floss through the eye of the needle.
If you’re using thicker embroidery thread, such as Perle cotton or all the strands of stranded cotton, work it through gently so as not to tug the wire loop off of the needle threader.
Conclusion
It’s not that hard to learn how to thread an embroidery needle and it’s definitely a useful skill. You don’t need to suffer from sore fingers from self-inflicted needle pokes anymore. Just have a little patience, a steady hand, a few tools, and you’ll be well on your way to creating wonderful pieces of hand-crafted embroidery projects for sale, gifts, or for your own enjoyment!
