Since 2012, the United States has seen a rise in states legalizing the use of marijuana for medicinal and recreational purposes. In 38 states and DCs, electorates have approved the use of marijuana by individuals over the age of 21. As licensing for dispensaries and businesses that sell marijuana continue to gain momentum, so are the prices.
Americans who use marijuana have turned to grow it at home to enjoy its benefits and save on cost. However, a majority still wonder about the type of cannabis seed to plant and whether to plant them indoors or outdoors. This article will provide you with an elaborate step-by-step guide on how to grow marijuana at home successfully.
Before You Get Started
Though several states in the US and other countries have legalized the use of marijuana, it is still illegal in some states, and you could go to prison or face heavy fines for growing it at home. Therefore, before considering growing marijuana at home, you do well to consider your state’s legislation on the matter.
Doing thorough homework will help you know whether your state or country allows it and the details involved. For instance, California state allows anyone over the age of 21 to plant cannabis seeds at home but restricts the number of seeds you can plant. The bottom line: before you begin growing marijuana at your home, clarify your legal rights.
Step 1: Germinating Cannabis seeds
Since cannabis plants are divided into male and female, you want to know your preferred one. It is important to invest in quality cannabis seeds from certified sellers for maximum yield such as Fast Buds. Female plants are often preferred for their plump flowers; therefore, when buying cannabis seeds from your nearest certified seed bank, take the ones labeled feminized to be sure you are planting feminized plants.
To germinate the seeds, take a clear Ziploc bag with a wet paper towel and fold the seeds in the towel. Close the bag and place it in a slightly warm area-maybe on top of the refrigerator or cable box. Between one and three days, you are likely to see tiny whitetail growing from the seeds if they are viable to grow. If you do not see any sign of germination after five days, consider buying other seeds.
Step 2: Plant Your Cannabis seeds
Plant your germinated seed in a mix of organic soil or buy organic Pro-mix soil and your preferred pot or container with drainage holes. A plastic Dixie cup with poked bottom holes is often preferred for holding the soil.
Plant the seeds about one inch deep with the whitetails immersed in the soil, then lightly wet the top of the soil with clean water. Put the container somewhere with indirect or direct sunlight- compact fluorescent light or sunlight. Your first set of baby leaves should come after two to three days.

Step 3: Bring the plant to the light
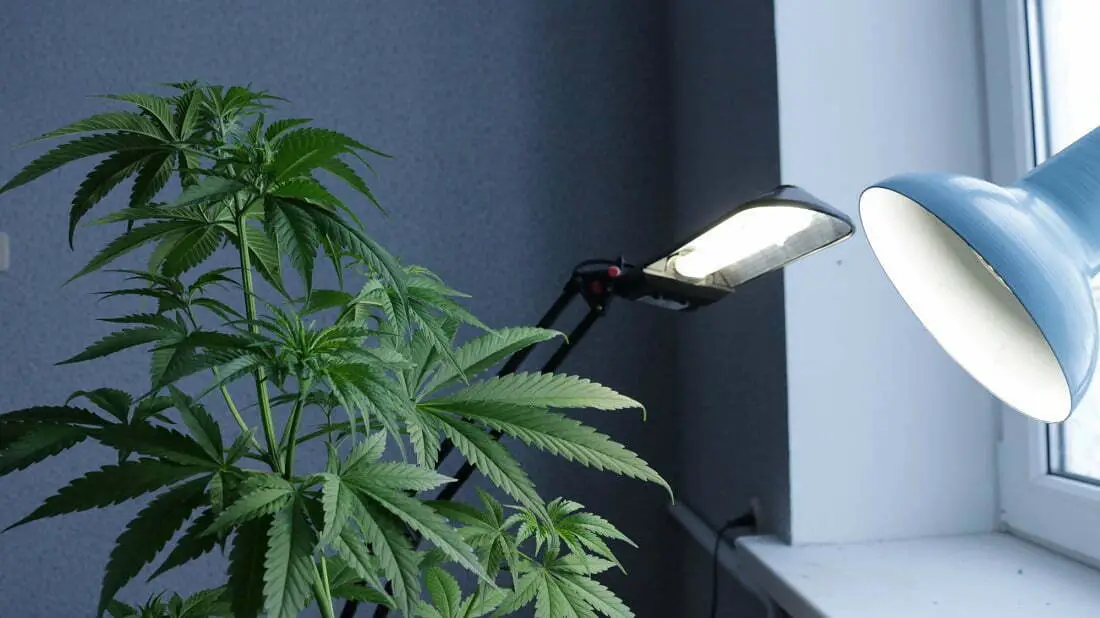
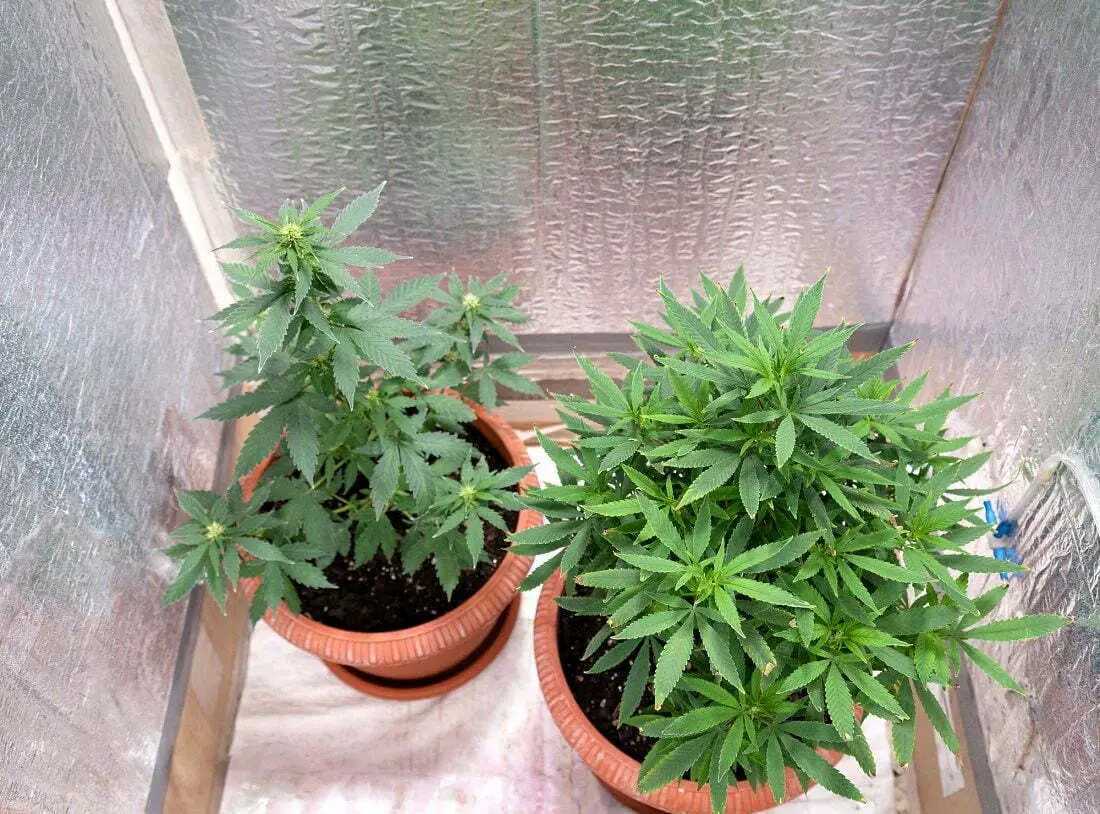
Light enables plants to manufacture their food, hence essential for growth. Indoor growers can use various lighting options to ensure quality yield. The inexpensive LED lights are ideal for new indoor growers since they provide quality light at a low initial investment cost.
Outdoor planting is also recommended since it benefits your marijuana plants with unregulated direct sunlight. This lighting is good because it is natural with less strain on the plant.
Tip: Though colored lights are often cheaper, their purplish hue makes it challenging to know the true color of your plant leaves. You may not detect and curb plant disease early enough with colored lights; therefore, consider using non-colored lights.
Step 4: Watering and vegetative growth
If you plant your cannabis seed on organic soil, you will need to water the plant- but be careful not to overdo it. Overwatering is a common mistake among beginner growers. The general rule to determine when to water is to pick up the plant pot; if it is light and dry, you need to water it. However, if the pot is heavy, it still has enough water to sustain it.
The vegetative growth stage is often personalized depending on your space and the lighting watts you are using. The general rule is to use 75 lighting watts for a square foot gardening area. Allowing the plant to grow for at least three weeks or longer before transferring them into a flowering container.
Step 5: Transplant your marijuana plant into a flowering container
This is the baby’s final home before it is harvested. It is recommended to use a one-gallon soil container per foot for suitable plant growth. You can mix a quarter cup of bloom fertilizer with the soil before planting or simply plant them in the organic soil.
Since the roots are often delicate, exercise caution when transplanting the young plants into larger containers. If you use a Dixie cup, you can squeeze the cup until the soil is loose to ensure you remove the plant with its root mass before transplanting.
Step 6: Let it grow
After transplanting, allow nature to take its course for the next eight to nine weeks. Your duty would be to water the plant with clean water whenever the topsoil is 3 or 4 inches dry. Additionally, you should move the lighting bulb up as the plant grows- often 12 to 24 inches above the tallest point in your garden. Since LED floodlight installation can provide the right light for plants.
Proper lighting height helps a condition where the top of the plant is extremely warm. Most plants will bud from week three after transplant and finish at week nine. Once the lowest leaves turn yellow and three-quarters of the pistols have turned brown or red, you know the plants are ready for harvesting.
Tip: Ensure the plants have enough space for air circulation. If your plants are indoor, you could need a small oscillating fan to improve air circulation in the garden.
Step 7: Harvesting
After weeks of watering and waiting, your plants are ready for harvesting. It could be time to harvest when you see the buds get swollen and packed tight. Since most beginners harvest their cannabis too early, many growers advise them to wait two more weeks when they think the plants are ready. If you are not sure, you can share a photo of your plants on a forum to get the opinion of experienced growers.
Harvesting involves cutting the plants and hanging them upside down in a dark area. Some growers use the place where they grew the plants but with the lights off. You could manicure them after seven to 10 days by trimming the remaining leaves not connected to the bud.
Ensure the room has adequate air circulation to prevent humidity, which could facilitate mold growth. Trim the buds and seal them in a mason far for curing, but ensure you periodically open the jar to let moisture escape.
Your hard-earned crop is ready for consumption. Whatever your preferred way for imbibing it, go ahead and have fun.
Conclusion
Many states have legalized marijuana, and several people have taken advantage of growing it at home. If you consider growing marijuana in your backyard, buy quality cannabis seeds for better yields. These steps will undoubtedly help you be a proud marijuana farmer and user.
