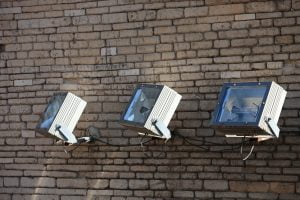
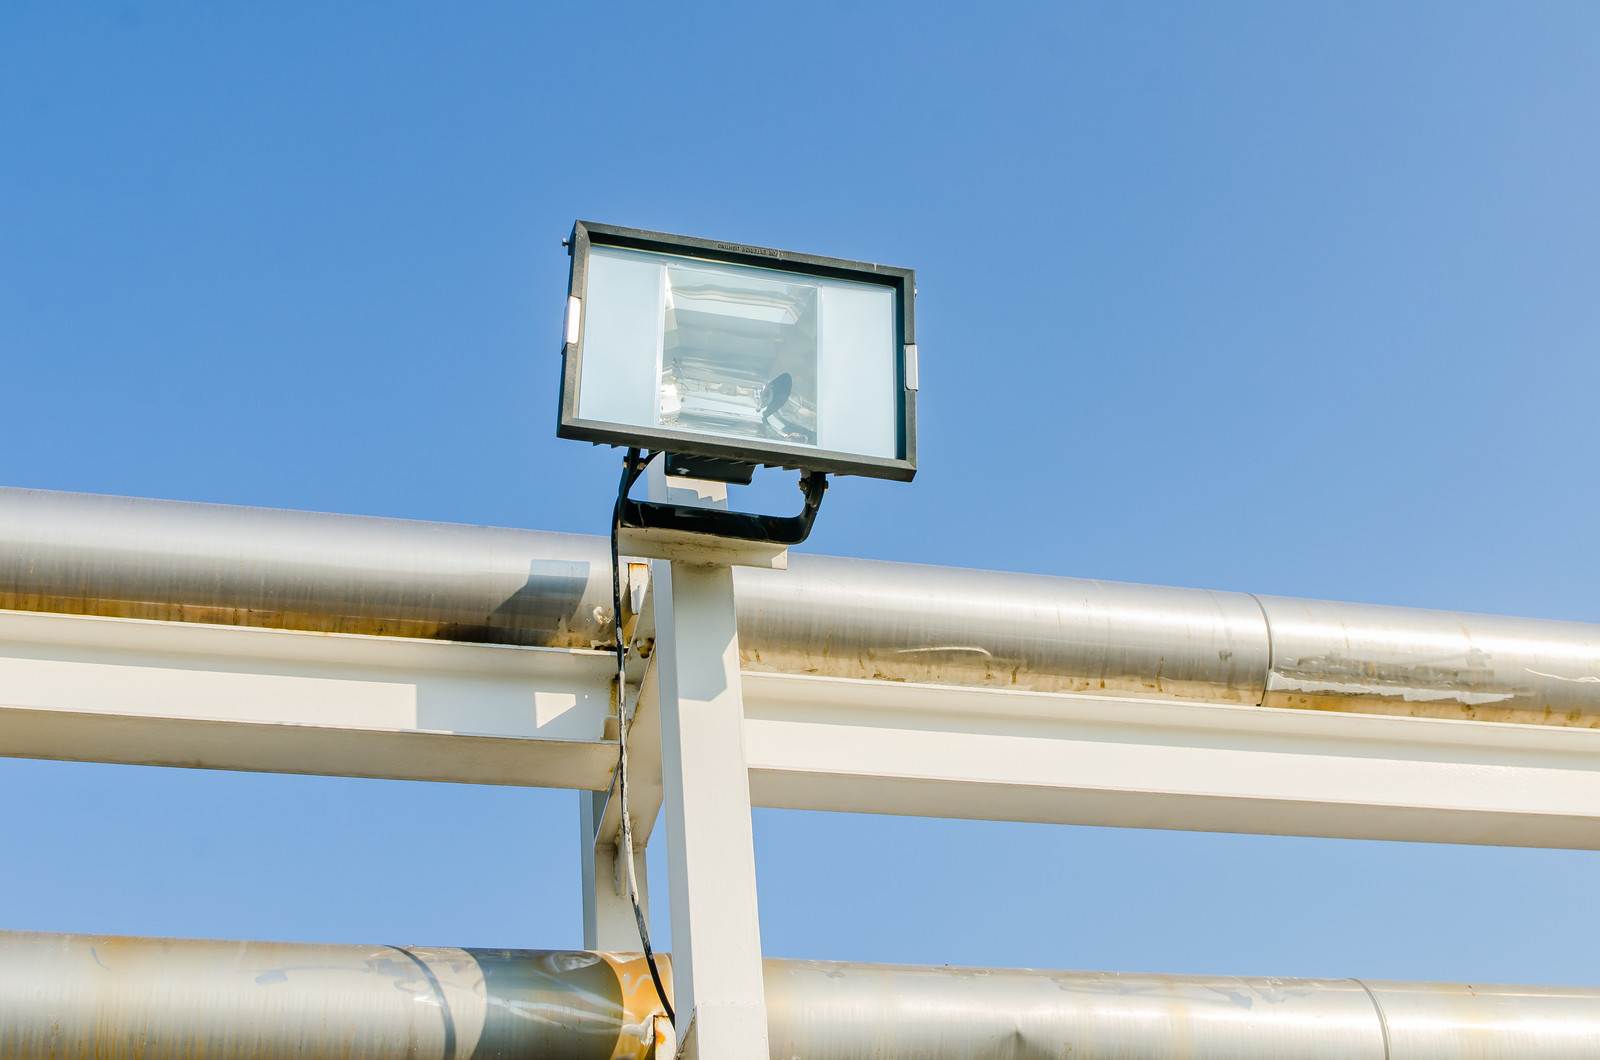
One of the best ways to improve your home’s security while adding a touch of appeal to your living space is by having a floodlight installed. So if you’re looking to illuminate your entrances or walkways, make dark corners brighter, and accent your property, floodlights can be the perfect solution.
Now that you’ve decided to install a floodlight, you have to choose from a wide range of options. You know how important it is to find one with the right bulbs and specs but making a choice can be overwhelming.
Should you go for LED floodlights or Halogen floodlights? Let’s talk about that for a bit.
LED vs Halogen Lighting
When it comes to floodlights, LED lights are usually the most picked. There’s no doubt about their high level of efficiency in outdoor lighting setups, especially as floodlights need lots of electricity. That alone makes LED floodlights a top choice because they are more cost-effective.
And since it all boils down to efficiency, LEDs trump halogens. That’s because they offer better lumens per watt proportion.
What exactly do we mean by lumen?
Yourdictionary.com defines lumen as “The SI unit of luminous flux, equal to the amount of light per unit time passing through a solid angle of one steradian from a light source of one-candela intensity radiating equally in all directions.”
Put simply, lumens equal brightness! Lumens help you determine how much light to expect from a bulb, meaning you get brighter light with more lumens.
So how many lumens will your outdoor lighting require?
Well, it all depends on what you intend for your floodlights to do. If you’re only looking to light up small driveways, gardens, and patios, then you’ll need fewer lumens (from 600-1600lm). But you’ll require more lumens to illuminate larger gardens, patios, and driveways (from 1200-2400lm).
What that implies is that for similar light output, LED lights have lower energy consumption when compared to other kinds of lights. They can also come on instantly like halogens, making them a great choice for floodlights.
But that doesn’t mean halogen lights aren’t great too. They give off a pretty robust color rendering and are usually very bright. But since it’s all about efficiency, halogens don’t measure up to other kinds of lights because of their shorter lifespan. They also contribute to energy-wasting in the form of heat. But you could mitigate this by installing motion sensor-equipped halogen floodlights so that they don’t stay on the whole time.
In general, LED floodlights are seen as the better choice because of their energy and cost-effective nature. However, you must keep in mind that they require lots of diodes to match up to the power of halogen lights.
You’ve probably decided to go with LED floodlights. But before we show you how to install one, there’s something else we need to get out of the way. Should you opt for hardwired lights or solar-powered LED lights?
Solar-Powered vs Wired Lights
The debate on whether to go for solar-powered floodlights or wired lights has to do with the power source. Wired lights require you to connect them directly to the electrical control unit of your home while solar lights need renewable energy from the sun to function.
That aside, there also are other points of difference between both options. Here are 3 of those to consider when choosing between solar and hardwired LED floodlights:
● Cost
You’ll probably spend more in upfront costs to get your solar-power floodlight running but this option offers you long-term savings on your electrical bill. On the other hand, the installation fees for wired floodlights are expensive but will result in long-term energy bill additions.
● Maintenance
Solar lights are easier to maintain while wired lights need more intensive maintenance.
● Installation
You’ll most likely need professional help to get your wired floodlights up and running. But you can also do it yourself and we will show you how to in just a bit. For solar-powered lights, there’s far less stress in the setup.
In a nutshell, solar lights power themselves and supply energy endlessly. They’re easy to install and power on as soon as the sunsets. They’ll also serve you for many years in addition to the fact that they help you save on electricity bills.
However, you must be deliberate about their positioning. They need to be kept in very sunny areas or they’ll underperform at night. You’ll also need to do lots of panel cleaning from time to time since particles like dust and dirt can affect their energy-absorbing capacity.
But if you go with wired LED floodlights, you’ll be in total control because the electricity from your home powers the floodlight. You also have the luxury of using them with photocells, switches, and timers.

How To Install Wired LED Floodlights
So you’ve decided to go for wired LED floodlights and now have to wire them. For someone with little or no experience, this task can be a challenging one. But not to worry as this section outlines the steps necessary to wire the floodlights with ease and with the right tools. Here’s how to do it:
- Choose the best location. Decide where your floodlights will be installed based on what purpose you want them to serve. To get the best out of them, position them at building corners because that’s where the lighting is usually not adequate. You also want to keep them elevated, probably near the roof so you can have enough coverage. To do this, you will need a ladder and an extra pair of hands to hold it at the bottom while you do the wiring.
Aside from positioning, you also need to be sure that your wires can get to the chosen area. Also, work out how to route it from the control unit to the floodlights. You’ll be better off sketching this out on paper first before proceeding because doing so gives a clearer picture of the entire setup.
- Switch your power source off! Make sure to disconnect the power supply from the main source. You can do this from the control panel box using the main power switch. That should help protect you from electrical accidents. In cases like this, working with the electricity on puts you at risk since you will be fiddling with wires. You also don’t want to cause a power surge which will affect the entire supply.
2. Next, locate an electrical outlet. This should be as close as possible to the floodlight. Get the wires attached to the outlet after you must have unscrewed the face. At this point, ensure that the wire colors stay matched. Connect white wire to white wire and black wire to black wire.
3. After attaching them to the outlet, grab the other wire end and take it to where you’ve located your switch. You’ll need store-bought clips to keep the wire secured to the floor or walls. You can either staple them down or hammer them in at a spacing of 2-4 meters apart. Do this with care so that no one trips over them in the future.
4. Now you have to get the switch installed. You’ll notice that your switch has some designated holes. First, get the black wire inserted into the designated holes and tighten the screws. Next, use wire caps and electrical tape to connect the white wire to its designated section.
5. Next, you have to get the floodlight connected. Before hooking it to your wires, ensure that the wires are stapled down to the floor or walls. Then use wire caps and electrical tape to attach the wires, keeping in mind the color matching rule.
6. Now it’s time to get it tested. After installing the switch, turn it off and then get the face of the outlet screwed back on. Once done, switch on the main power supply from the control panel and then proceed to turn on the switch. If the lights come on, then you’re all set.
Some Advice For LED Floodlights Installation
With the right tools and sufficient time, you can get your floodlights installed if you stick to the instructions. But you could feel overwhelmed about doing it yourself. You’re probably scared of heights and lack the confidence to get on top of a ladder. Or you most likely are doubting your ability to get it done since you are not an expert. At this point, it’s okay to seek professional assistance. A qualified electrician can help you get it done so you don’t take any unnecessary risks.
When compared to incandescent lights, LEDs are much more efficient since they have a lower power draw and require lesser amounts of energy to function. So the possibility of having problems with your circuit breaker during the installation phase is greatly reduced.
But if the plan is to install multiple floodlights which could see several incandescent and LED lights connected together, then the LED may have to deal with too much power draw such that it gets destroyed from overloading. In such a scenario, it’s best to run incandescent bulbs separately from LED lights.
Before getting everything finalized and sealed up, you want to do a thorough inspection to ensure that everything works. Failure to do so could mean making post-installation adjustments which can be harder to figure out.
Learn More
- How to Install LoadTrek ELD
- Trucker Path ELD Installation Guide
- Getting Started with iGlobal ELD
- How to Install the Rand McNally ELD System
- How to Install the TruckingOffice ELD
- NexTraq ELD Complete Installation Guide
- Automile ELD Installation Guide
- How to Install the Coretex ELD System in Your Truck
- TrackSmart ELD Installation Guide
- How to Install AwareGPS ELD System
