The last time I was out driving in the dark, I blew a fuse. It turns out that when you’re on a dirt road with no street lamps and up ahead there’s an oncoming car coming at you full speed, your headlights are really important to have so you can see what’s in front of you.
Not only is it dangerous for both parties if the driver doesn’t have lights but also not being able to see anything makes it difficult to drive correctly.
After replacing my blown fuse, I started looking around my garage thinking about how else I could restore my headlights or better yet avoid this problem altogether by doing something before the lights go out again.
That’s when it hit me – sandpaper.
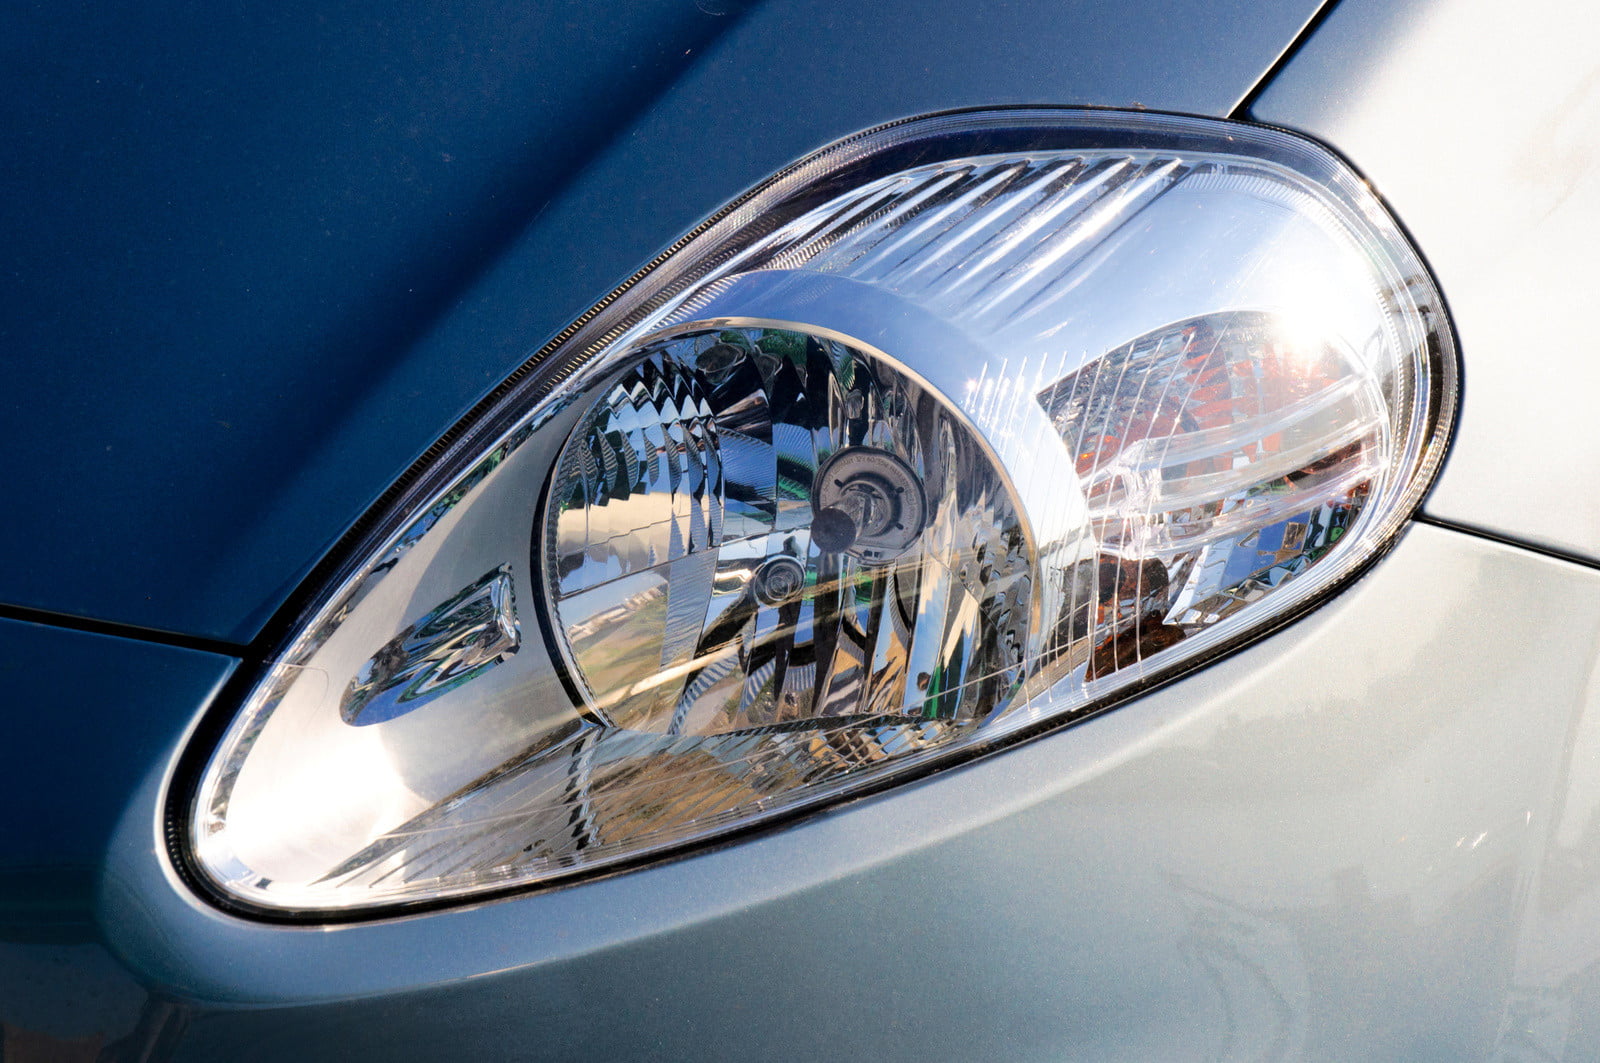
How to restore headlights with sandpaper? In this blog post, you will learn how to restore headlight covers to a clear shine in no time. While this technique isn’t new, it works like a charm. The steps are easy and the whole process only takes about 15-25 minutes.
Things You Need to Restore Headlight With Sandpaper
You’ll need the following material to start restoring headlights:
- Sandpaper with grit ranges from 400 to 2000
- A towel, rag, or a microfiber cloth
- 3M rubbing compound
- Rubber gloves
- Painters masking tape
- Car soap
- A Drill
- Compound buffing pad with drill adapter
- A water spray bottle
- Rubbing Alcohol (Isopropyl Alcohol)
- A small cup for measuring
- Polish
1st Step – Cover Headlights With Painter Tape
Before you start working, use painter’s tape to make it easy. Tape off your headlights so you won’t need to worry about the car’s paint when using sandpaper.
The best way to protect your headlights is by cutting a hole the same size as a headlight before taping around them.
If you don’t want any dust from wet sanding getting into that plastic housing, then just use some electrical tape or gaskets cut from an old vinyl record sleeve for protection instead!
2nd Step – Remove Dust & dirt From Headlight Lenses
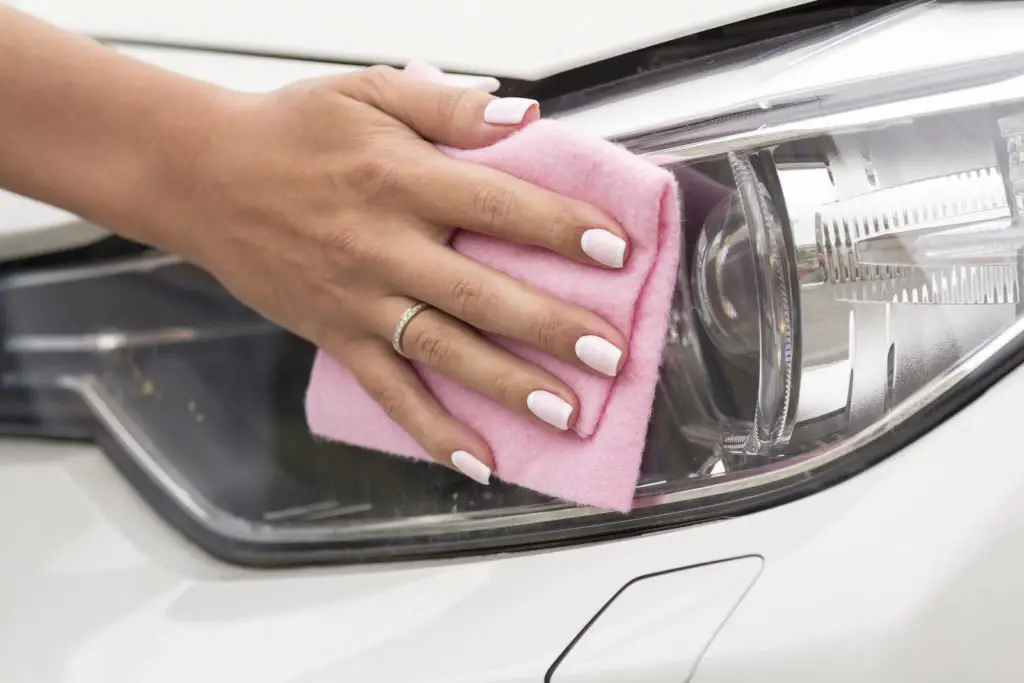
Use a clean rag and wipe off any dirt or debris from the headlight lens before starting the process. Your headlights must be totally free of dirt and grime since you don’t want them to end up in your sandpaper.

If there are any rocks or debris stuck to the headlight, then use a good cleaner to wipe it away.
3rd Step – Do Dry Danding
Begin sanding with sandpaper of 400-800 grit. By sanding dry you’ll remove all the loose surface dirt and grime from the headlight.
You’ll notice the scratches get a lot more visible after you dry sand. Continue to sand around the headlight cover at a 45-degree angle.
Ideally, you should sand horizontally for about three to five minutes around the headlight. If done correctly, you’ll notice that the sanding marks slowly start to disappear.
| Pro-Tip 1: Don’t press too hard since you don’t want to dig into the headlight cover. Pro-tip 2: When sanding dry, keep a dust mask and maybe a pair of gloves on. Because dust tends to swirl around a lot while sanding dry. |
|---|
4th Step – Start Wet Sanding with 800-2500 Grit Sandpaper
Next, you will wet sand the oxidized headlights using 800-2500 grit sandpaper. This process can get a bit messy and might cause some of your other tools to get dirty.
When wet sanding process, spray a little water on the lens and then wet sand it using small circles. Make sure to use only a little bit of water. If you use too much, it will take much longer to dry and you’ll risk getting the sanding marks on your headlights.
Between each of these phases, I washed down the surface with soap and water to remove this milky white secretion.
| Pro-tip: Use rubbing alcohol to remove any residue after you are done wet sanding the headlight lens. |
|---|
To dry the headlight, just set it out in the warm sun after using rubbing alcohol.
5th Step – Apply Polishing compound
Once the headlight is dry, you’ll notice all the sanding marks have disappeared. But, instead of a crystal clear finish, you will have dull and foggy headlights. You can now apply a thin layer of polishing compound to the headlight.
The polishing compound I used was designed to remove minor scratches and it helped me bring out the best shine in my headlights instantly.
In order to get the best results, use a 3M rubbing compound for this process.
| Pro-tip: For the very best results, it is recommended that you follow up polishing with a polishing pad and drill. The polishing pad attaches to an electric drill (and sometimes comes with it) to help speed up the process and give you a finer finish. |
|---|
6th Step – Apply Simple polish
Now you’ll notice your headlight has a shiny surface, but most of the clarity is still gone. Once again, apply some polishing compound, but this time you’ll want to use a slightly different method.
Apply a thin layer of simple polish to the headlight. If not done correctly, buffing can create heat and cause damage to your headlights’ plastic housing that holds the headlight in place.
To avoid this, take your time and be sure to work slowly and carefully on and around the headlights.
| Pro-tip: You can easily avoid creating a new scratch by using a microfiber towel to apply the simple polish. A new scratch will appear if you use a cheap towel that has been made from low-quality materials. |
|---|
7th Step – Apply Rubbing Alcohol
Use a clean microfiber cloth to apply rubbing alcohol to the headlights. This process will reveal any abrasions or scratches that still exist on the headlight lens.
Pro-tip: If you still see any sanding marks, apply another layer of polishing compound and repeat the previous steps until you have a crystal clear finish.
8th Step – Assess Your Work & Repeat If Needed
Now that your headlight’s surface is clear, give it some time to cure. You’ll want this step because the curing process preserves the shine and clarity of your headlights.
| Pro-tip: Some sources say that a headlight’s curing process can take anywhere from 24 to 48 hours to fully cure. |
|---|
If you feel the clarity of your headlight’s lens surface isn’t good enough, repeat the previous steps until it is perfect.
9th Step – Apply a Protective Headlight Coating Layer
Once the clarity of your headlight is great, give it some time to dry, and then apply a clear coat of car wax to help prevent your headlight’s lens from breaking down.
Some people use water-based spray waxes, which are easy to apply and help make your headlights shiny. On the other hand, do not use water-based waxes if you plan on driving your car through a car wash, because the wax will melt and go away.
Frequently Asked Questions on Headlight Restoration
Q: Does WD-40 work on headlights?
WD-40 is a great tool for cleaning and restoring your car’s headlight. It can be used as an all-purpose cleaner, but too much abuse could cause more harm than good in the long run!
If you use it often or repeatedly on delicate surfaces like plastic lenses (which happen to be present on most modern headlights), then eventually oil from WD will leak inside where it’ll damage bulbs permanently–so don’t overdo things with this stuff, please.
Q: What grit sandpaper do I use for the headlight restoration process?
Headlight restoration is a delicate process that requires the utmost care. The first step of headlight cleaning should be done with 400 – 600 grit silicon carbide sandpaper followed by 800 and 3000-5000 grits depending on desired finish quality!
Q: How do you avoid creating new scratches when using a polishing compound?
A: You can easily avoid creating a new scratch by using a microfiber towel to apply the simple polish. A new scratch will appear if you use a cheap towel that has been made from low-quality materials.
Q: How long does it take for car wax to dry?
A: Depending on the thickness of the coat, it can take anywhere from 20 minutes to an hour.
Q: How many times should you apply rubbing alcohol?
A: If you still see any sanding marks, apply another layer of polishing compound and repeat the previous steps until you have a crystal clear finish.
Q: What does car wax do to enhance the clarity of headlights?
A: It helps keep your headlight lens from degrading. Some people use water-based spray waxes, which are easy to apply and help make your headlights shiny. On the other hand, do not use water-based waxes if you plan on driving your car through a car wash, because the wax will melt and go away.
Q: How do you darken headlights?
A: You can’t darken headlights. You can only restore them to their original clarity and shine after they have been damaged.
Q: How do you know your headlights are not clear anymore?
A: One of the most common signs that your headlight lenses are no longer clear is that driving at night gets harder. If you find yourself straining your eyes to see the road, it may be time for this restoration process.
Q: What to use after sanding headlights?
A: Use a clean microfiber cloth to apply isopropyl alcohol to the headlights. This process will reveal any abrasions or scratches that still exist on the headlight lens.
Conclusion
Restoring car headlights is a process that can take time, but it’s not difficult to do. You’ll want to start by wiping off the headlight lens with a clean cloth before sanding any scratches out of your surface.
After this step, use rubbing alcohol on the headlight and then quickly dry them in the sun or oven. If there are still some marks left over after using the polishing compound for buffing purposes, you may need to repeat these steps until all abrasions have been removed from your surface.
Just remember it takes about 24 hours for most surfaces to fully cure!
Let us know if you have any questions in the comment section below.
Related Article
Replacing a Headlight Bulb is a surprisingly easy task that takes minimal tools and only a few hours of your time.
