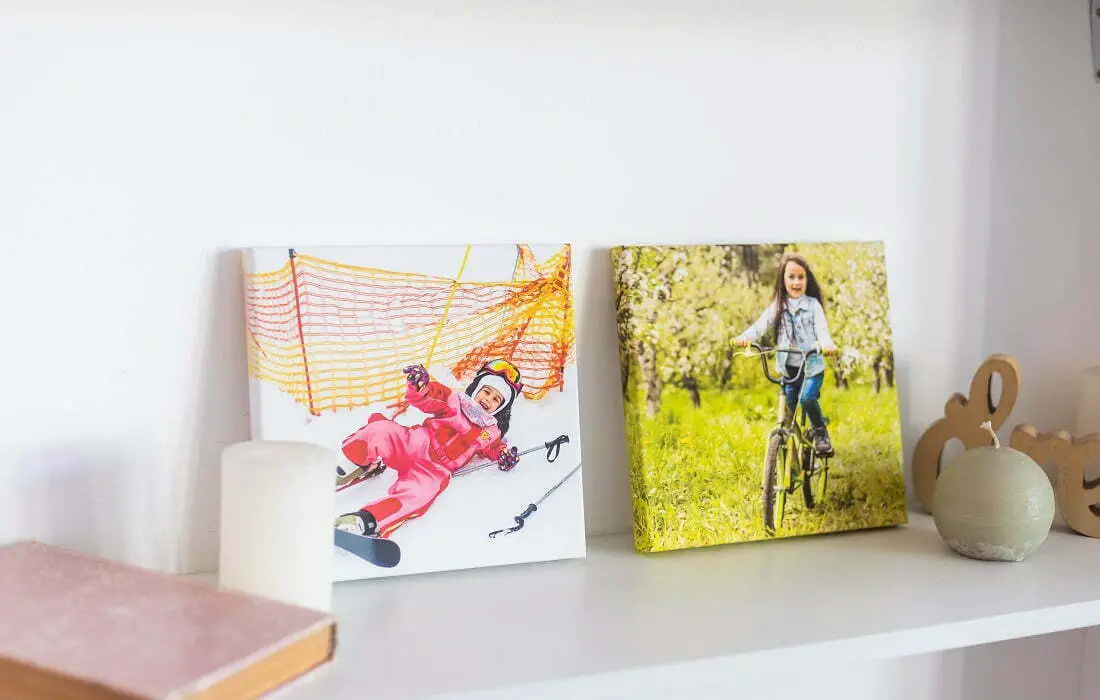
When you take a great snapshot with your camera, do you ever think about turning it into a beautiful wall art feature? If not, it’s time to expand your horizons, because it’s easier than ever to turn smartphone photos into stunning canvas prints – as long as you know the secrets to capturing and editing them the right way.
In this guide, we’ll take you through the process of creating gorgeous canvas prints from digital photos – and adding a touch of unique charm to your home decor.
1. Start with a Vision
Before you even pick up your camera, take a moment to visualize the end result. What kind of atmosphere do you want your canvas prints to create? What emotions do you want to evoke? Depending on whether your goal is a serene and tranquil ambiance or a vibrant energizing space, you’ll need to look for different subjects.
Having a clear vision will guide your composition and editing choices, ensuring that your photos translate beautifully onto canvas and complement your space effortlessly.
2. Capture with Composition in Mind
The standard principles of composition hold true when it comes to printing on canvas – ensure your primary subject takes center stage and strives for an overall sense of harmony in your photo. Pay attention to concepts like the rule of thirds, leading lines, and symmetry. Experiment with different angles and perspectives to add depth and detail to your shots. Remember, the more captivating the original photo, the more stunning the canvas print will be.
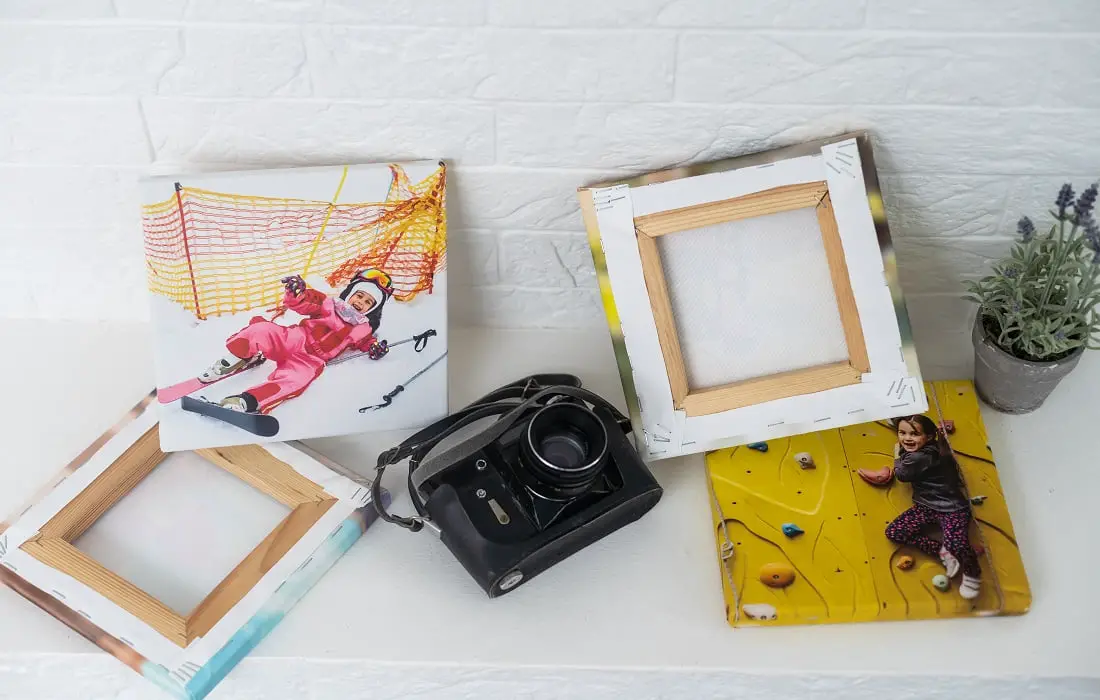
Keep in mind that canvas prints usually come in the “gallery wrap” style where the printed canvas is wrapped around an internal frame. When you get your photo printed, you have to decide whether the image will appear only on the front side of the wrapped frame, or whether the image will cover the entire sheet of canvas so that parts of it will appear on the edges of the frame. If you decide on the second option, make sure there are no important details in the margins of your photo. This is particularly important for close-up portraits!
3. Don’t Forget about Lighting, the Magic Ingredient
Great lighting can make or break a photograph. Natural light is often the best choice for capturing images that will shine on canvas because of the retro-inspired nature of this printing medium. Avoid harsh midday sunlight, which can create unflattering shadows. Instead, opt for the soft, warm light of early morning or late afternoon. Or you could experiment with backlighting to add a dreamy and ethereal quality to your photos.
When your photo is printed on canvas, it retains its sharp resolution, but the texture of the material adds a subtle dreamy quality to the final reproduction. It’s important to note that this doesn’t result in a blurred image, but rather imparts some charming retro flair. That’s why opting for soft, diffused lighting is preferable when working with this print format.
4. Focus on Details
To ensure sharp and crisp images for your canvas prints, pay attention to focus. Take the time to properly focus on your subject and make use of the autofocus feature if available. When shooting landscapes, use a narrow aperture to achieve a greater depth of field and ensure that all elements are in focus.
When capturing close-up shots, don’t hesitate to explore background blurring effects – your phone camera may well offer these. You can experiment with settings like “Portrait” or “Food” even if your subject is something entirely different.
5. Embrace Editing Tools
Editing is where the magic truly happens. With a plethora of editing software and apps available, you’ve got the tools to transform your photos into masterpieces. Experiment with adjusting exposure, contrast, and saturation to enhance the colors and details. Crop and straighten your images to create a visually balanced composition. Don’t be afraid to play with different filters or presets but remember to keep the final result true to your original vision.
6. Retouch with Precision
While editing can enhance your photos, it’s important to use retouching tools cautiously. These tools can be incredibly useful in removing distractions and blemishes that may take away from the overall impact of the image. However, it’s essential to strike a balance and avoid going overboard, as excessive retouching can result in an unrealistic or artificial appearance. This caution is especially important when you plan to print your photos on canvas.
When printing on canvas, the slight texture of the material adds a touch of artistic charm to the final reproduction. However, excessive retouching can diminish the authenticity and natural feel of the image. Consider the purpose and style of your canvas prints. If you aim to create a more artistic or vintage-inspired piece, embracing subtle imperfections and retaining the character of the original photo can enhance the overall charm.

Custom Canvas Prints: Showcasing Your Artistry
Once you have perfected your photographs through composition and editing, it’s time to bring them to life on canvas prints. Select the right print sizes for your images, whether you’re getting a single large canvas or a gallery wall of smaller prints. Consider the color scheme and style of your living space to ensure a harmonious integration.
Framing and Display
Typically, canvas prints are conveniently pre-wrapped on inner frames, meaning they’re ready to be hung on your wall. However, certain providers may offer rolled canvas prints, which you’ll need to “stretch” onto a frame yourself.
If you want to make an even more powerful statement, consider floating frames. These additional outer frames provide a striking visual effect by leaving a gap between the canvas and the frame itself. This feature adds depth and dimension to the artwork, drawing attention to the central image and lending an air of elegance to the overall presentation.
Maintenance and Longevity
To ensure your canvas prints retain their beauty for years to come, proper care and maintenance are crucial. Avoid placing them under direct sunlight or in areas prone to high humidity, as these conditions can cause fading or warping. Regularly dust your prints with a soft, dry cloth to keep them looking fresh and vibrant.
Takeaway
There’s no need to enroll in a photo school if you want to capture and edit photos that will become beautiful canvas prints. Embrace the power of composition, lighting, and editing tools to create images that truly captivate. So grab your camera, seek out the right subject, and let your photos tell a story that will last a lifetime.
