There could be many reasons to Change Your Facebook Username as you might want to modify your social presence. You might want to change your name from the old Jonathan to Jon or just want to change your name on Tinder. Whatever the reason for this change, there are two ways to do it. One is using your smartphone, and other is to use your desktop browser.
So, let’s start.
How To Change Your Name On Facebook
I am using Google Chrome to make the changes. You can use any browser, the method is always the same.
Step #1 Open your Facebook Account by using your email and password.
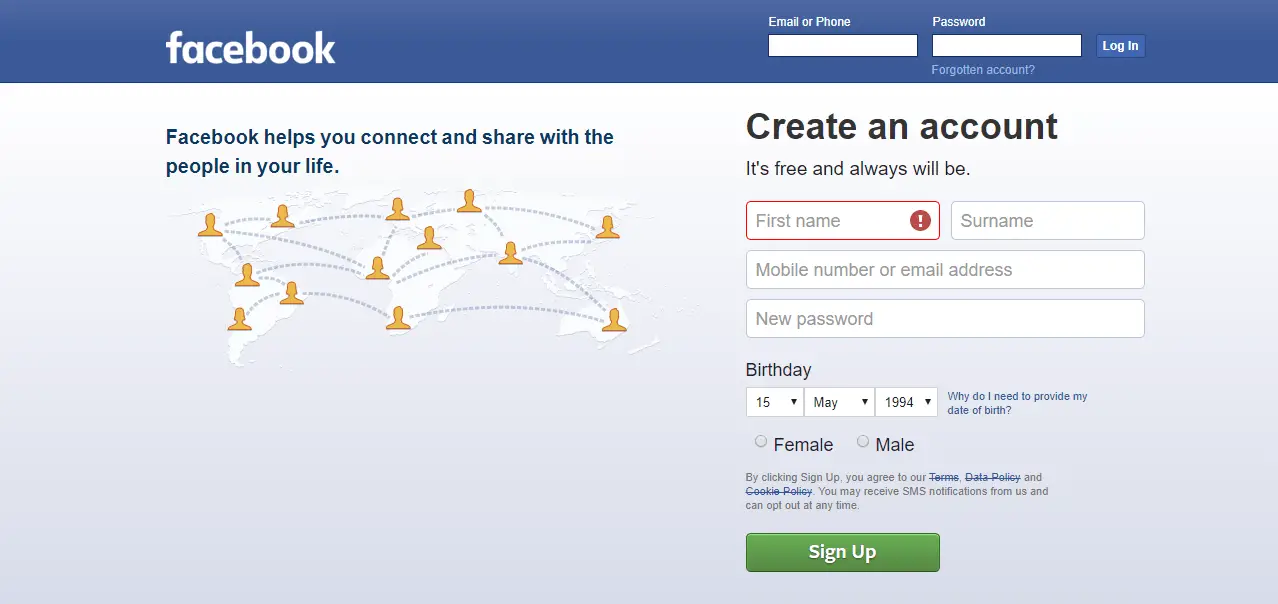
Step #2 Click on the down arrow button on the top-right side, next to the profile icon.

Step #3 From here, go to the settings page. You will be directed to the General Account Settings section.

Step #4 You will see “Name” section on this page. Click on the edit icon next to it.
Step #5 The section for entering your First name, Middle Name, and Last Name will open up. You can input your new name here and then click on Review changes button below it.
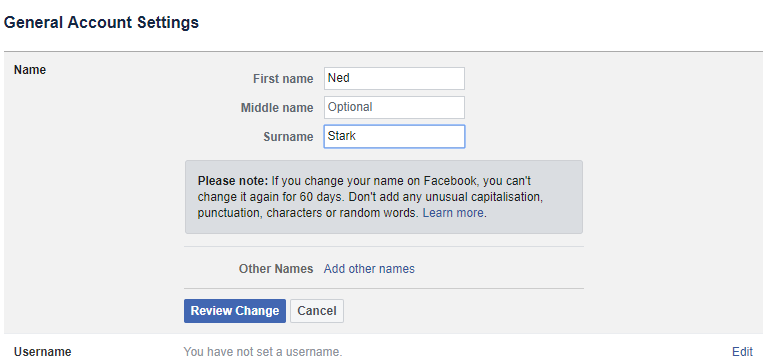
Step #6 When you click on “Review Change” button, a window will pop up. Here, you can review the name that you have just entered. If you like it, enter your current password and click on the “Save Change” button.
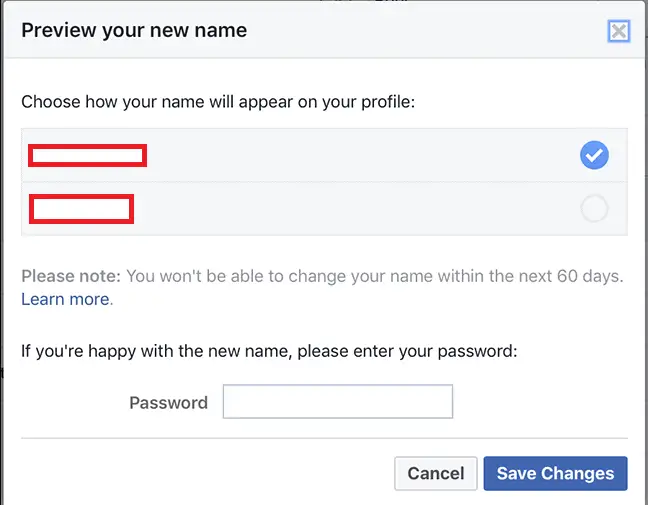
Your new name will be updated on your profile. Note that you can change your name only once in 60 days.
Tips:
When you are changing your name, please note that you can’t use the following things:
- Symbols, numbers, unusually capitalized letter, punctuations
- You can only use one language at a time, so you can’t input characters from multiple languages.
- Titles of any kind
- Offensive words of any kind
How To Change Your Name On Facebook App
I am using Facebook Application an MI phone, this method will work on any phone that supports internet and Facebook
If you want to use the browser on your phone, the method will still remain the same.
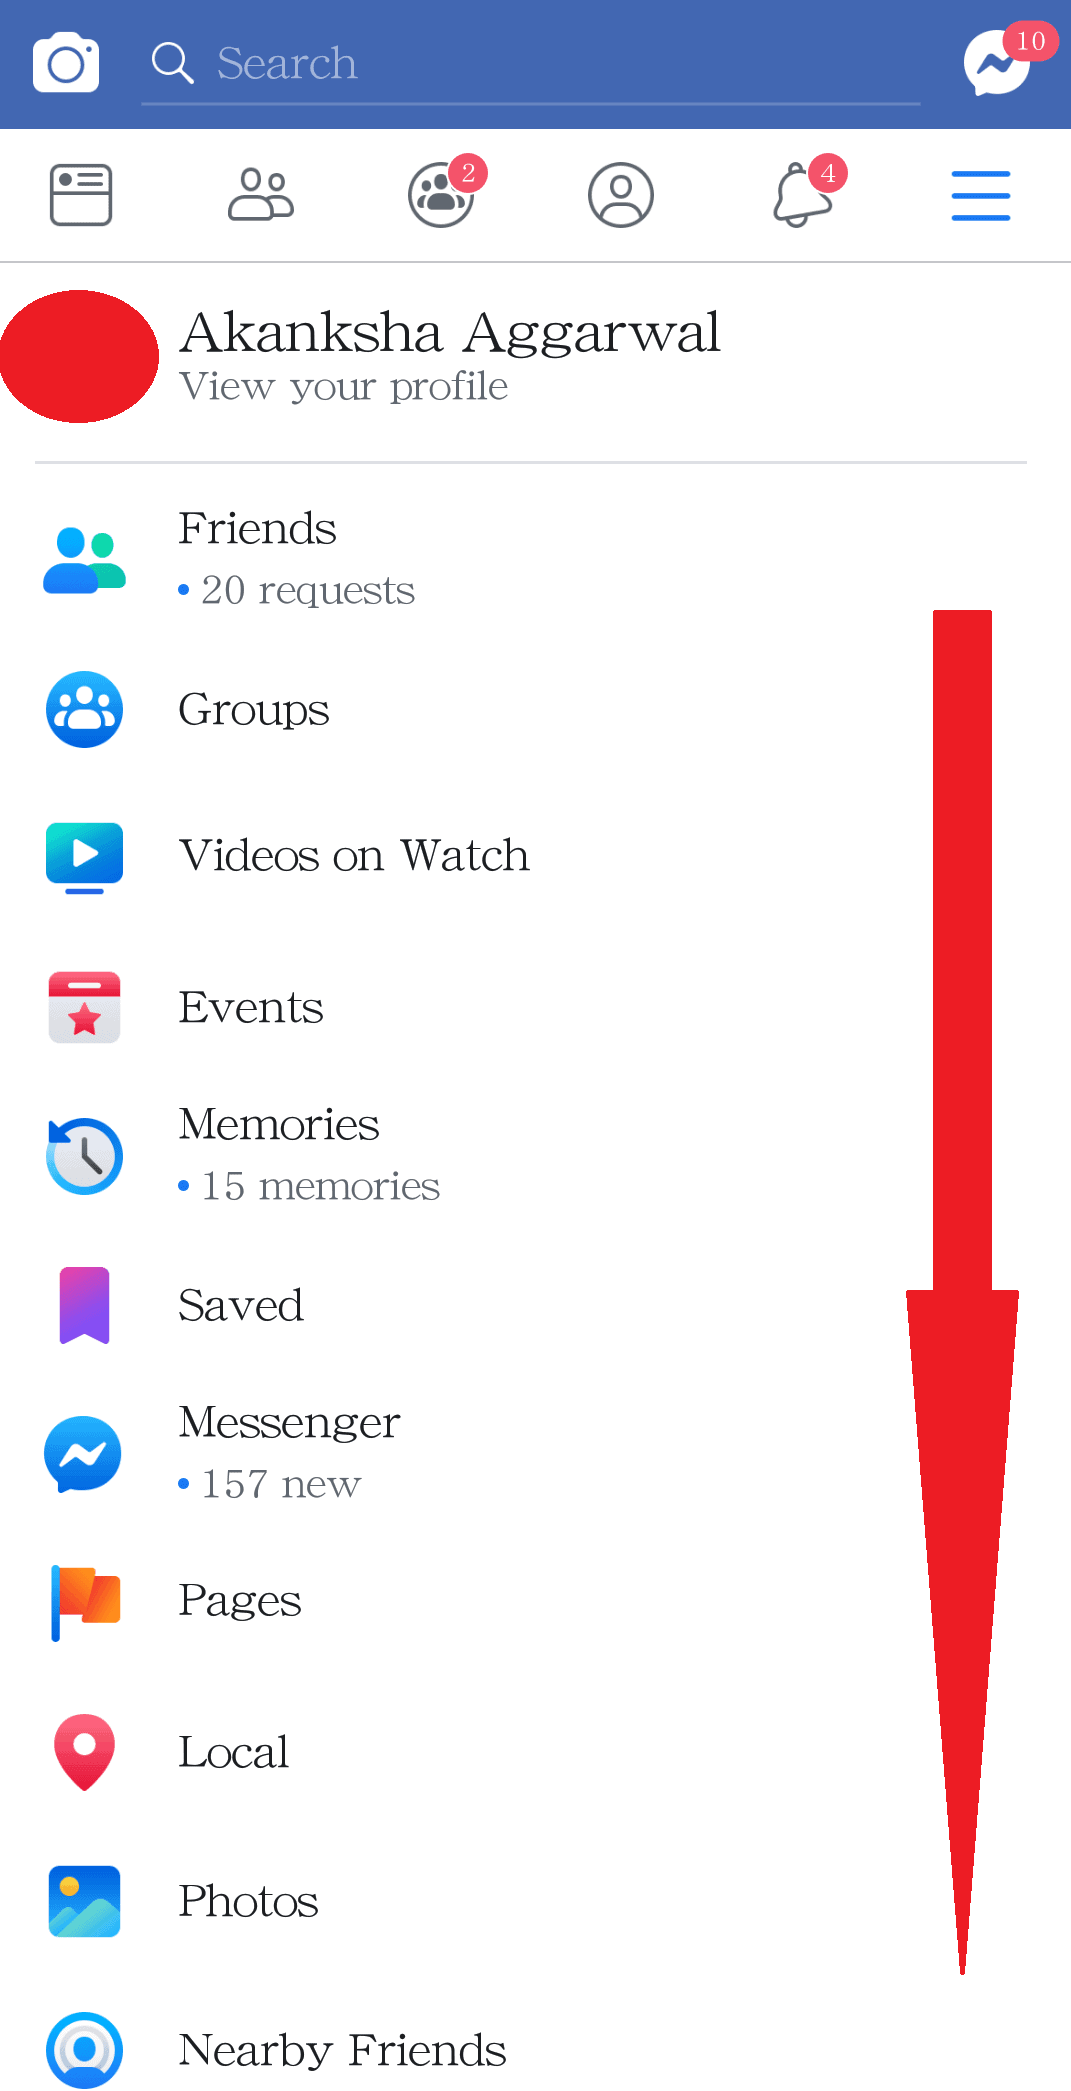
Step #1 Open your Facebook profile menu by tapping on the “three horizontal lines” in the top-right corner
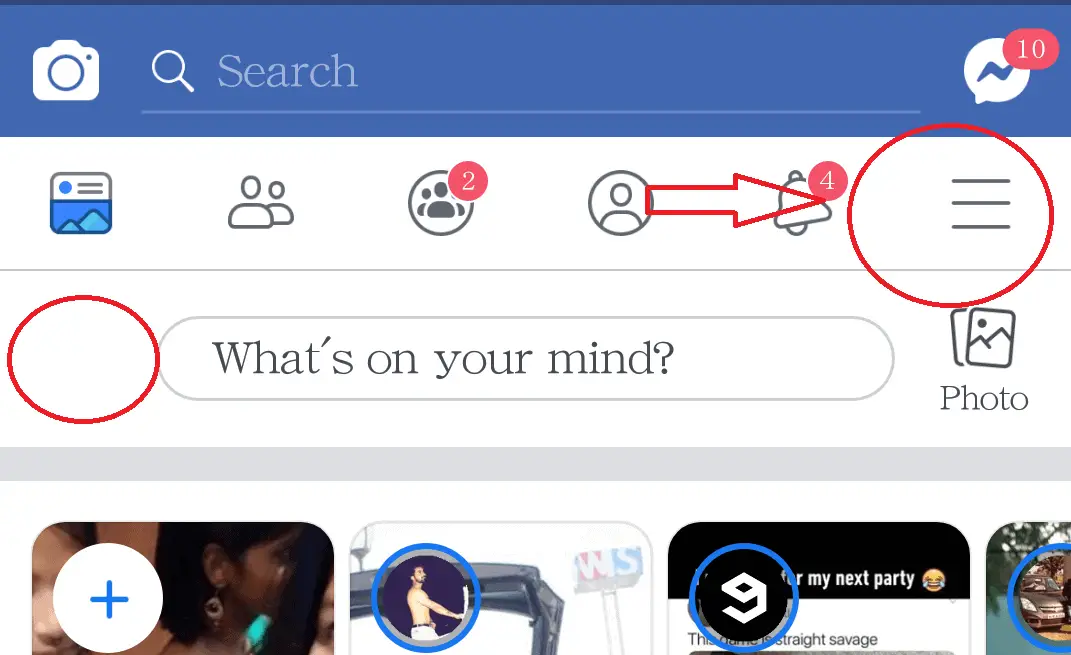
Step #2 Scroll down to find the “Settings and Privacy” option, tap on it.
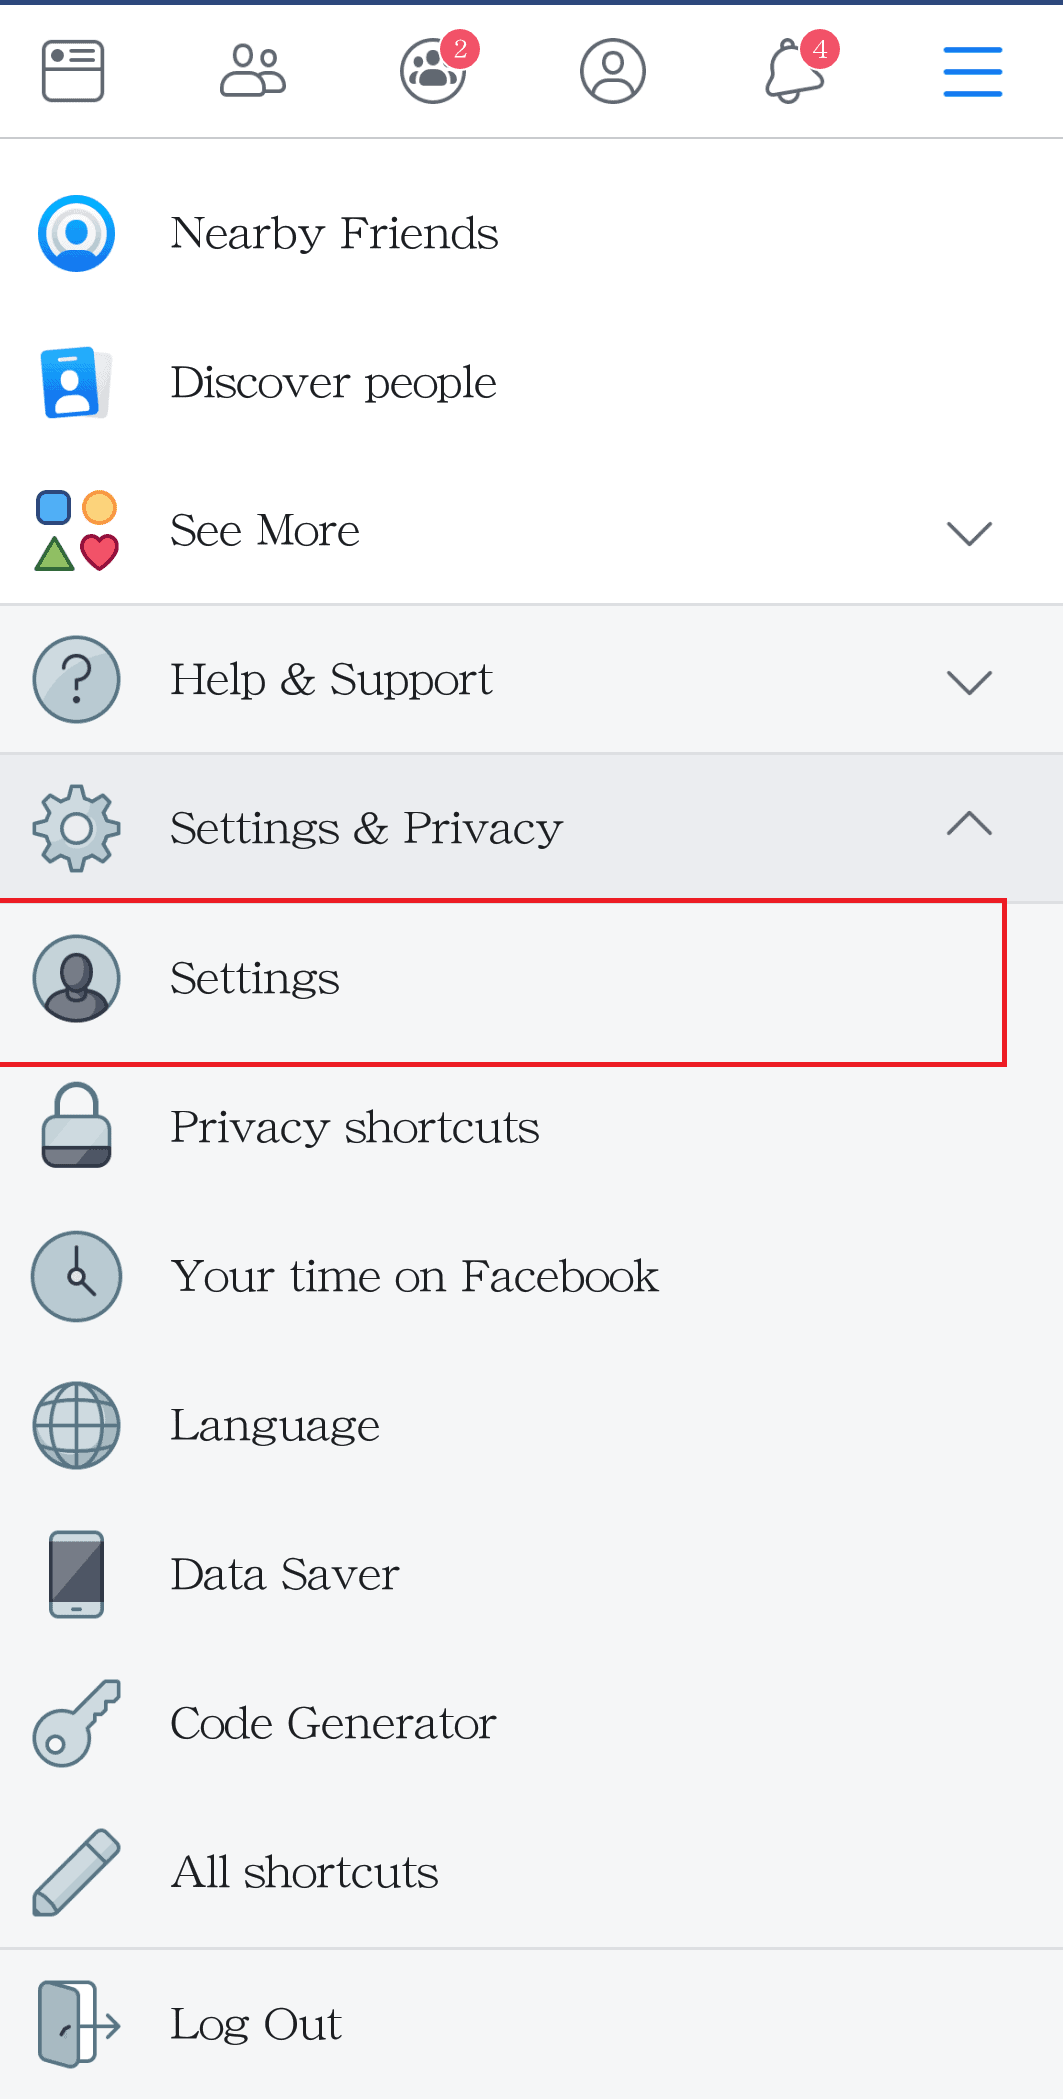
Step #3 Tap on the settings options, it will redirect you to the Account settings page
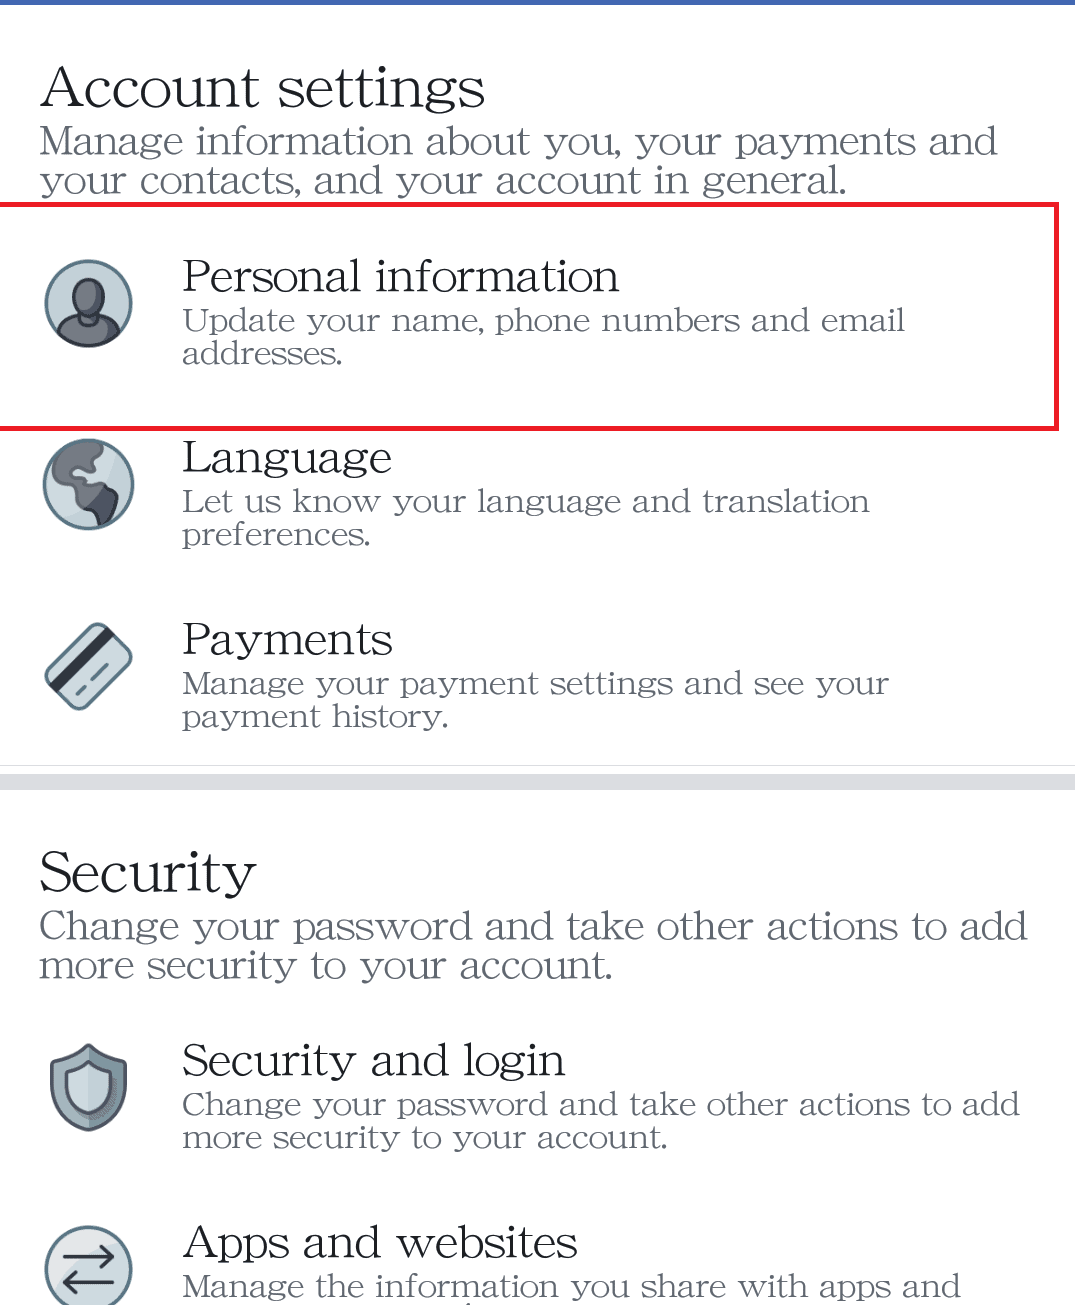
Step #4 Tap on the First option that says “Personal Information”
Step #5 You will be redirected to the page where you can edit all your personal details.
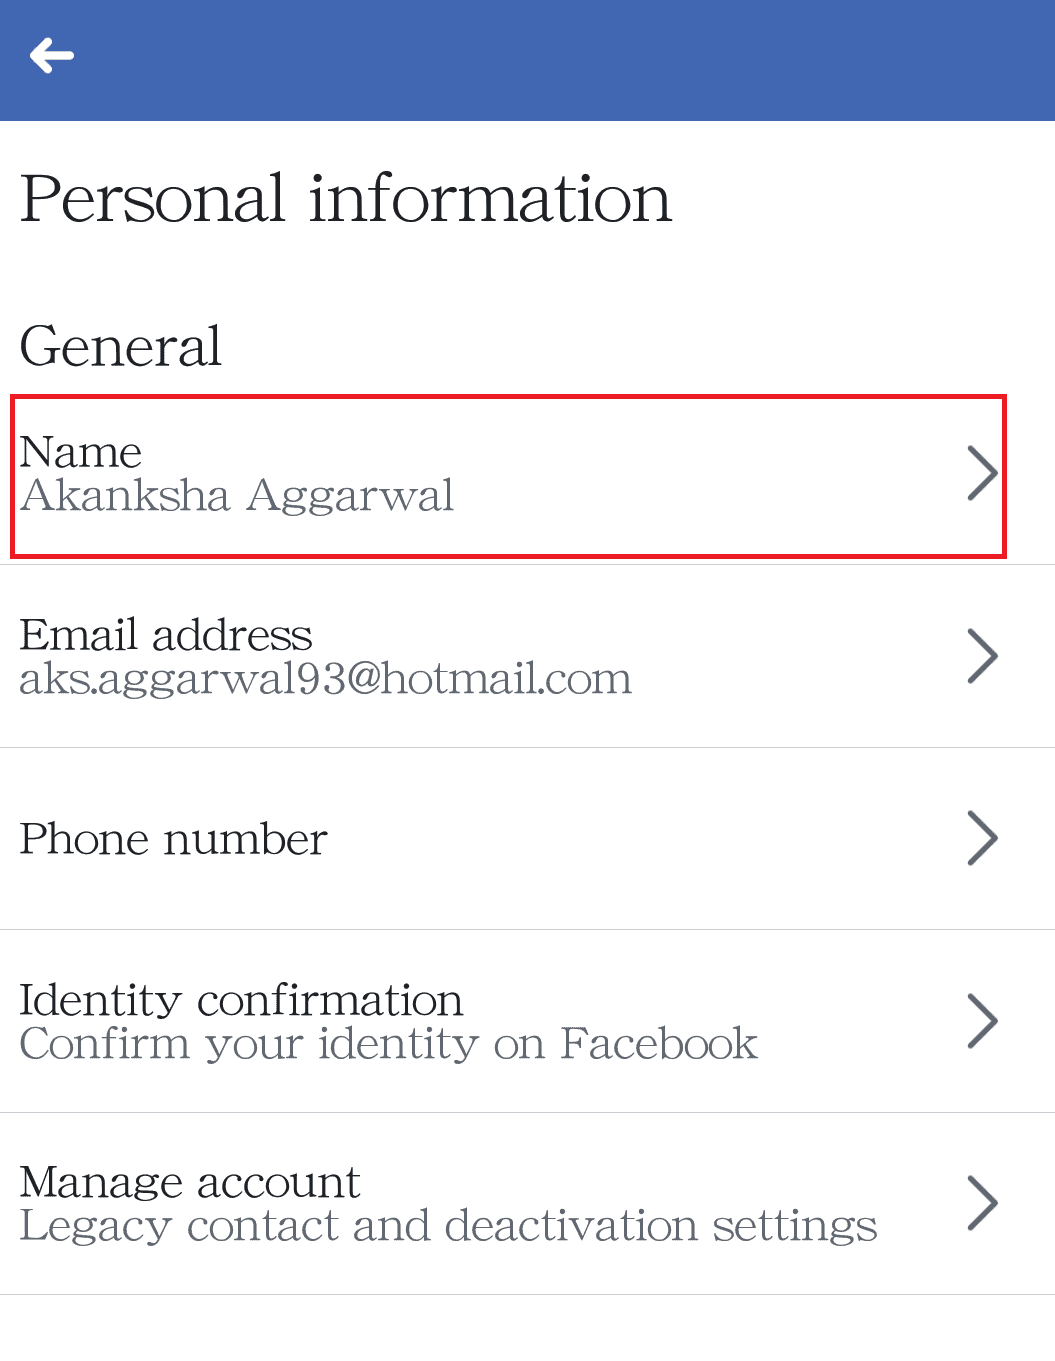
Step #6 Tap on “Name”, it will take you to the page where you can enter your new name
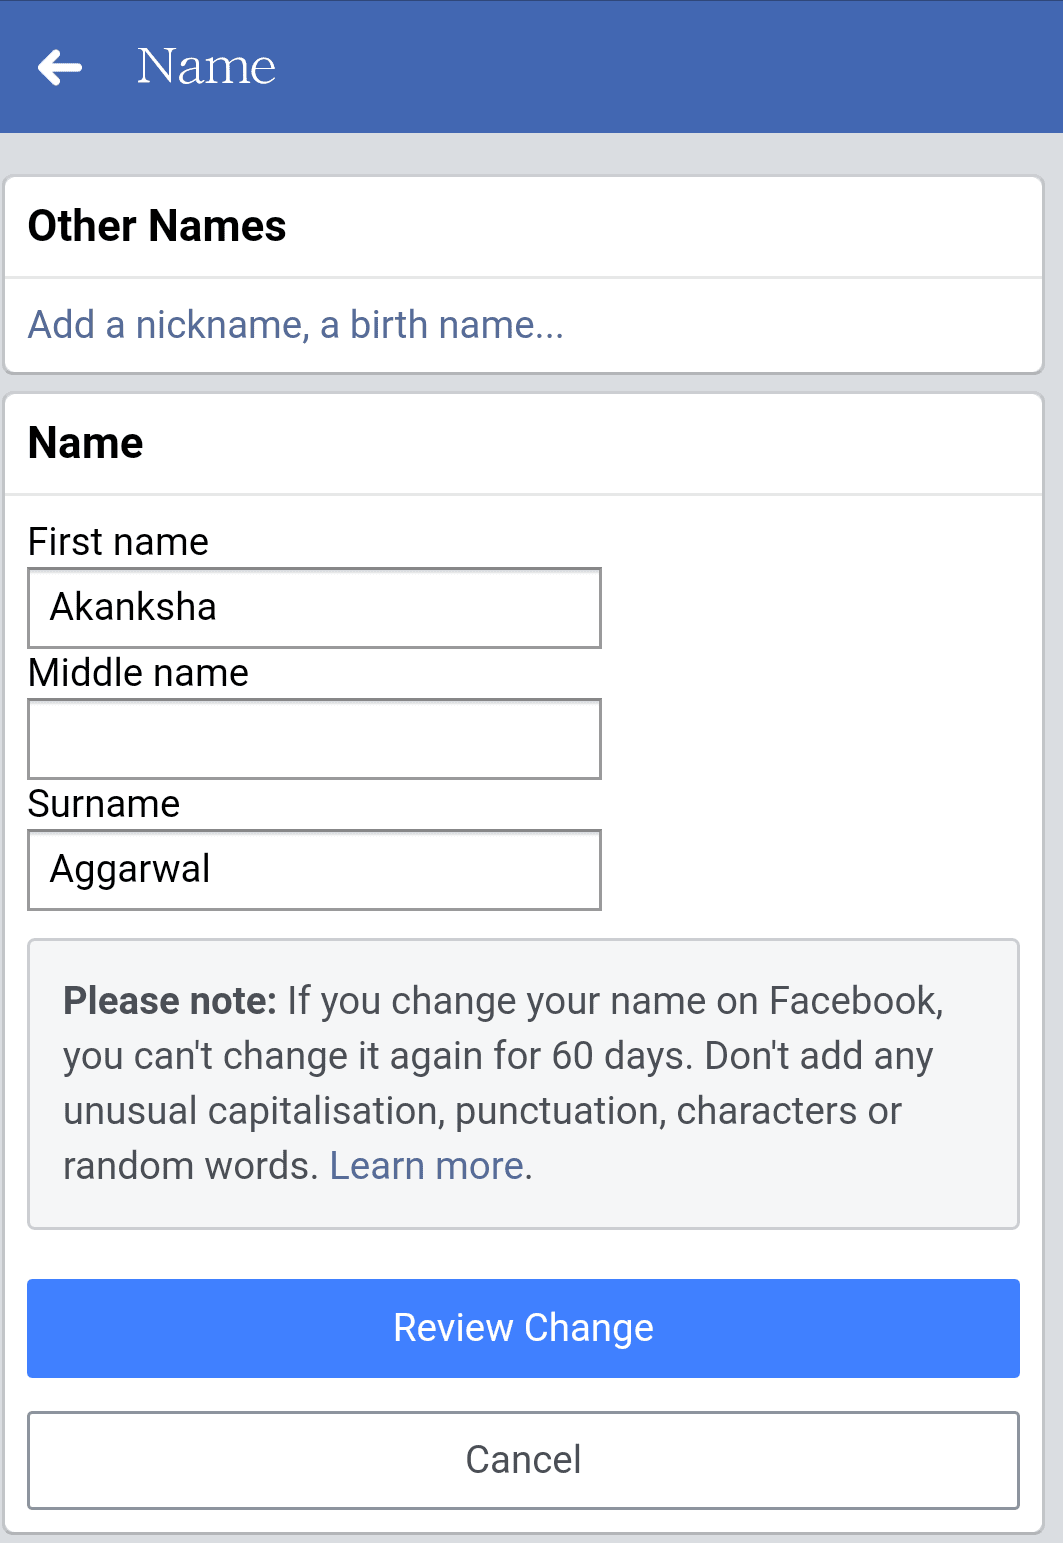
Step #7 Tap on the blue button at the bottom that says “Review changes”. If you like the way it looks, enter your current password and Click on “Save changes”

And you are done!!
Conclusion
Changing your username on Facebook is an easy task, but it has some drawbacks too. First, you can only change the name once every 60 days. So, if you don’t like your new social media name after two days of changing it, you are stuck with it for 58 more days. Second, this will change your name in all the accounts that are linked with your Facebook account. This includes all your games and other social media platforms. So, if the new name is somewhat different from the previous one, your friends might find it difficult to recognize you unless your display pic is visible to them.
Hopefully, this article on ways to change your Facebook name has helped you out. Please comment if you have any other query regarding the topic.
